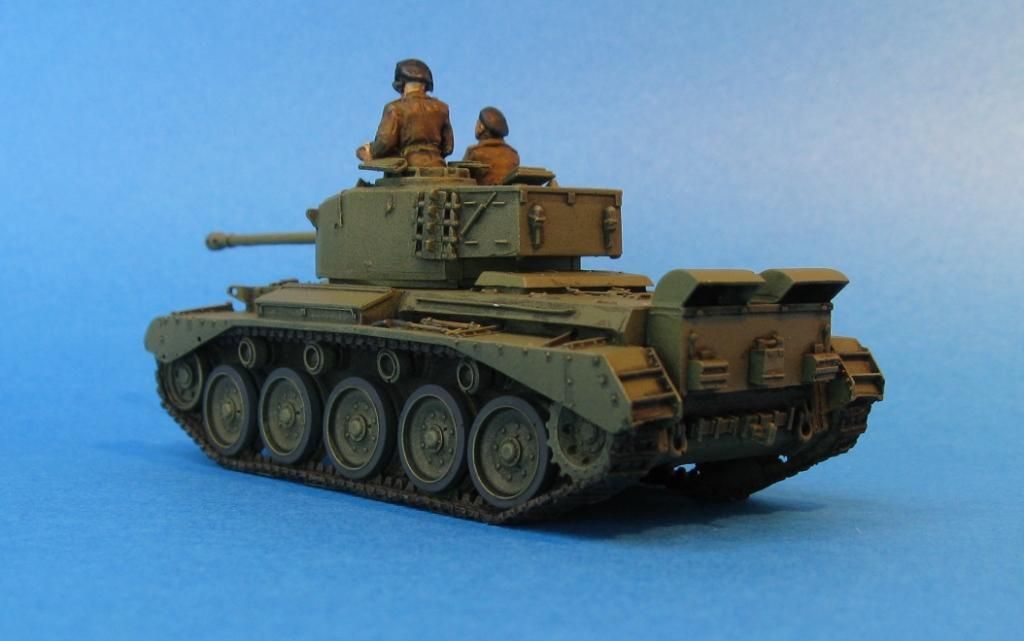
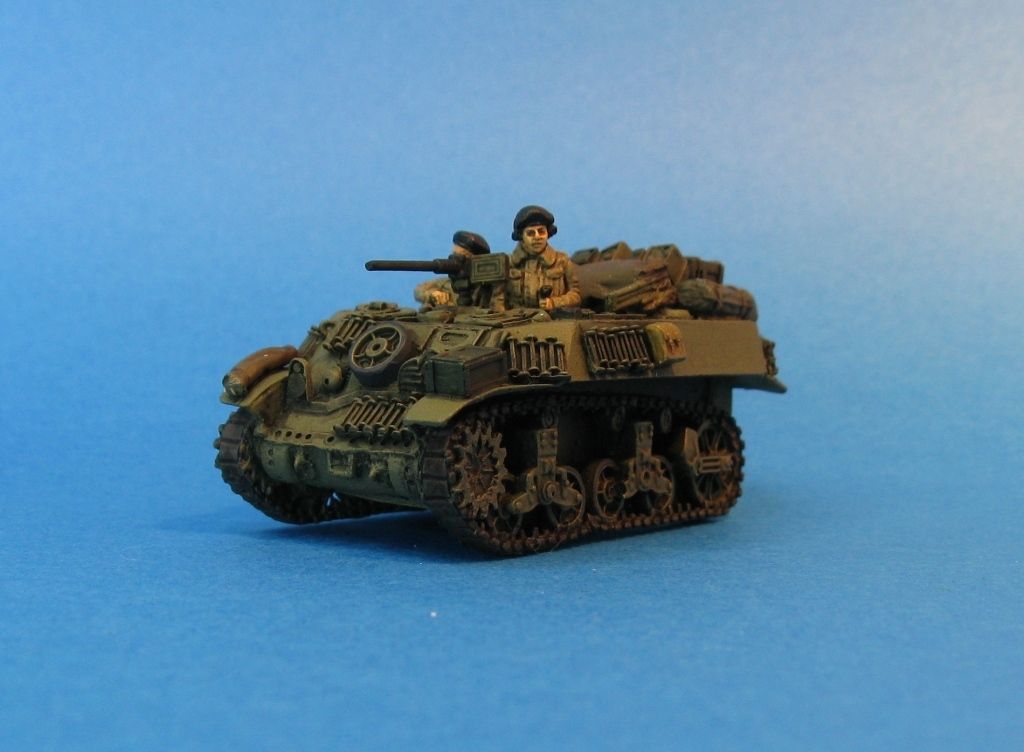
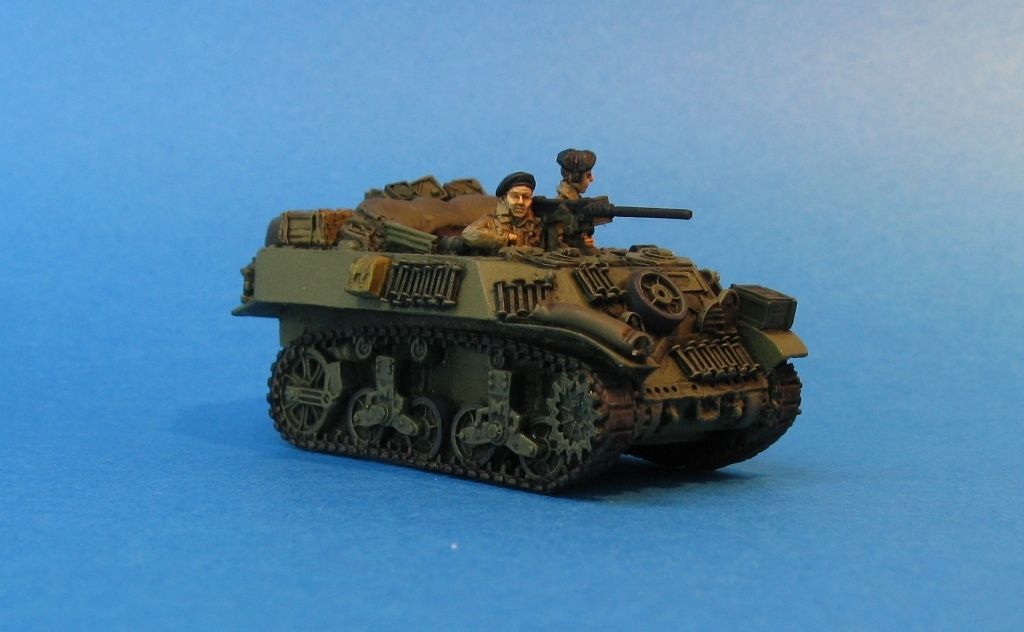
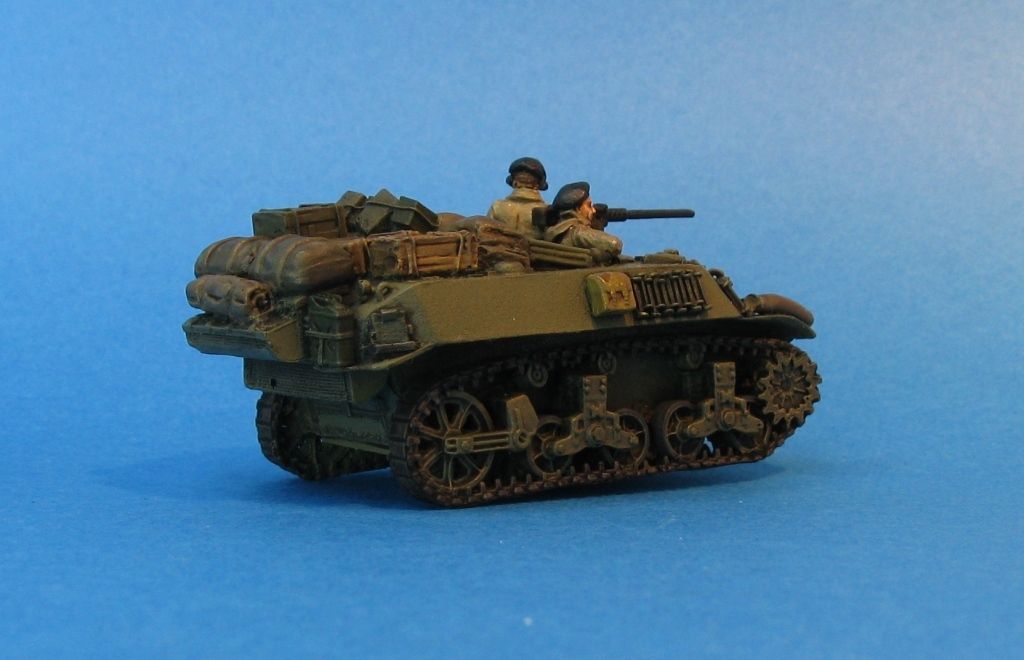
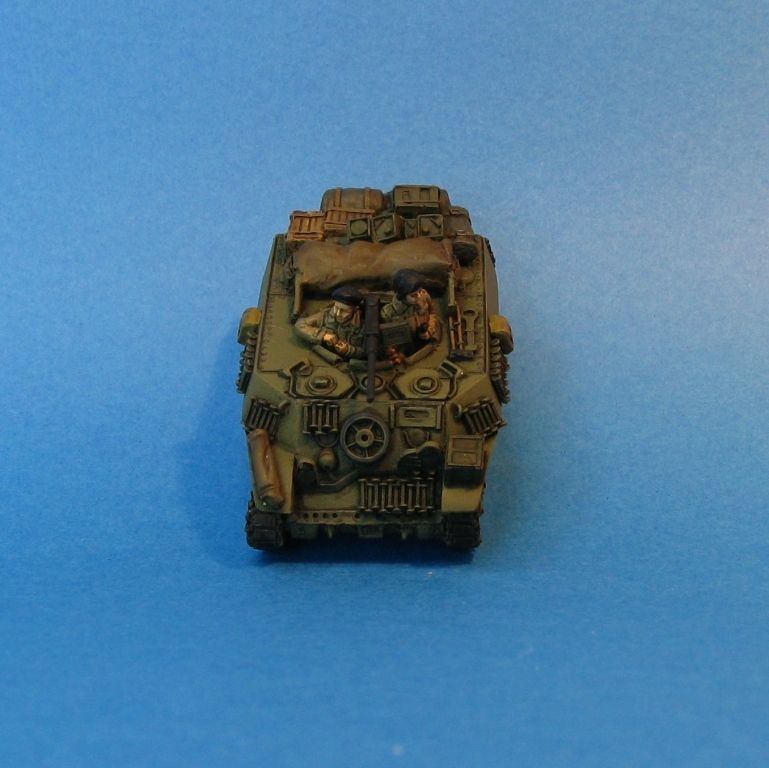
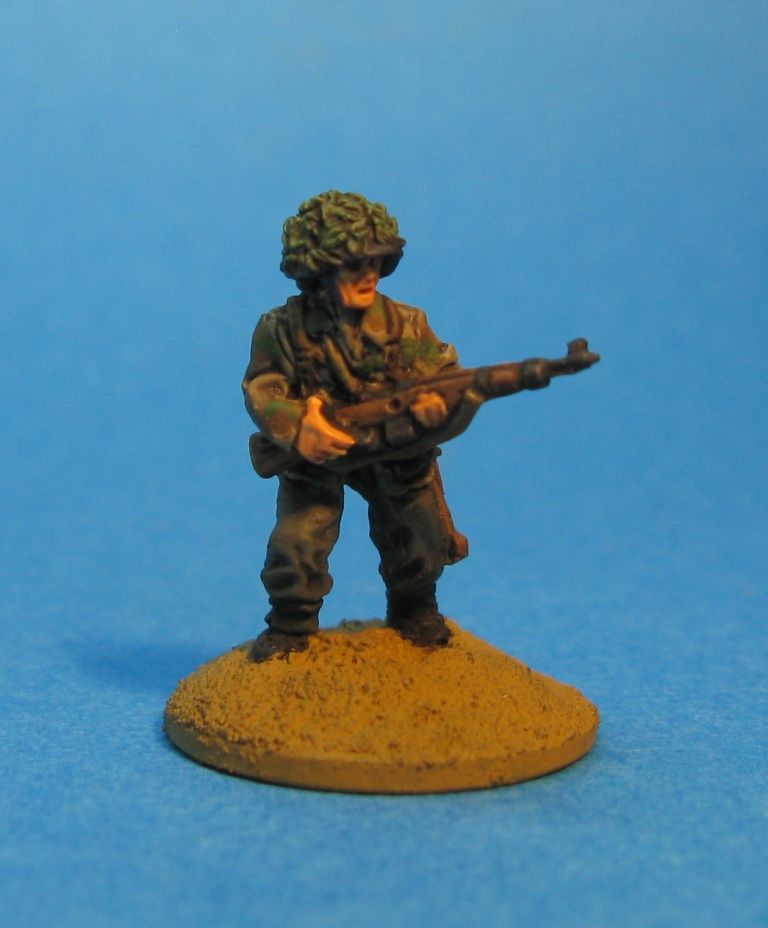
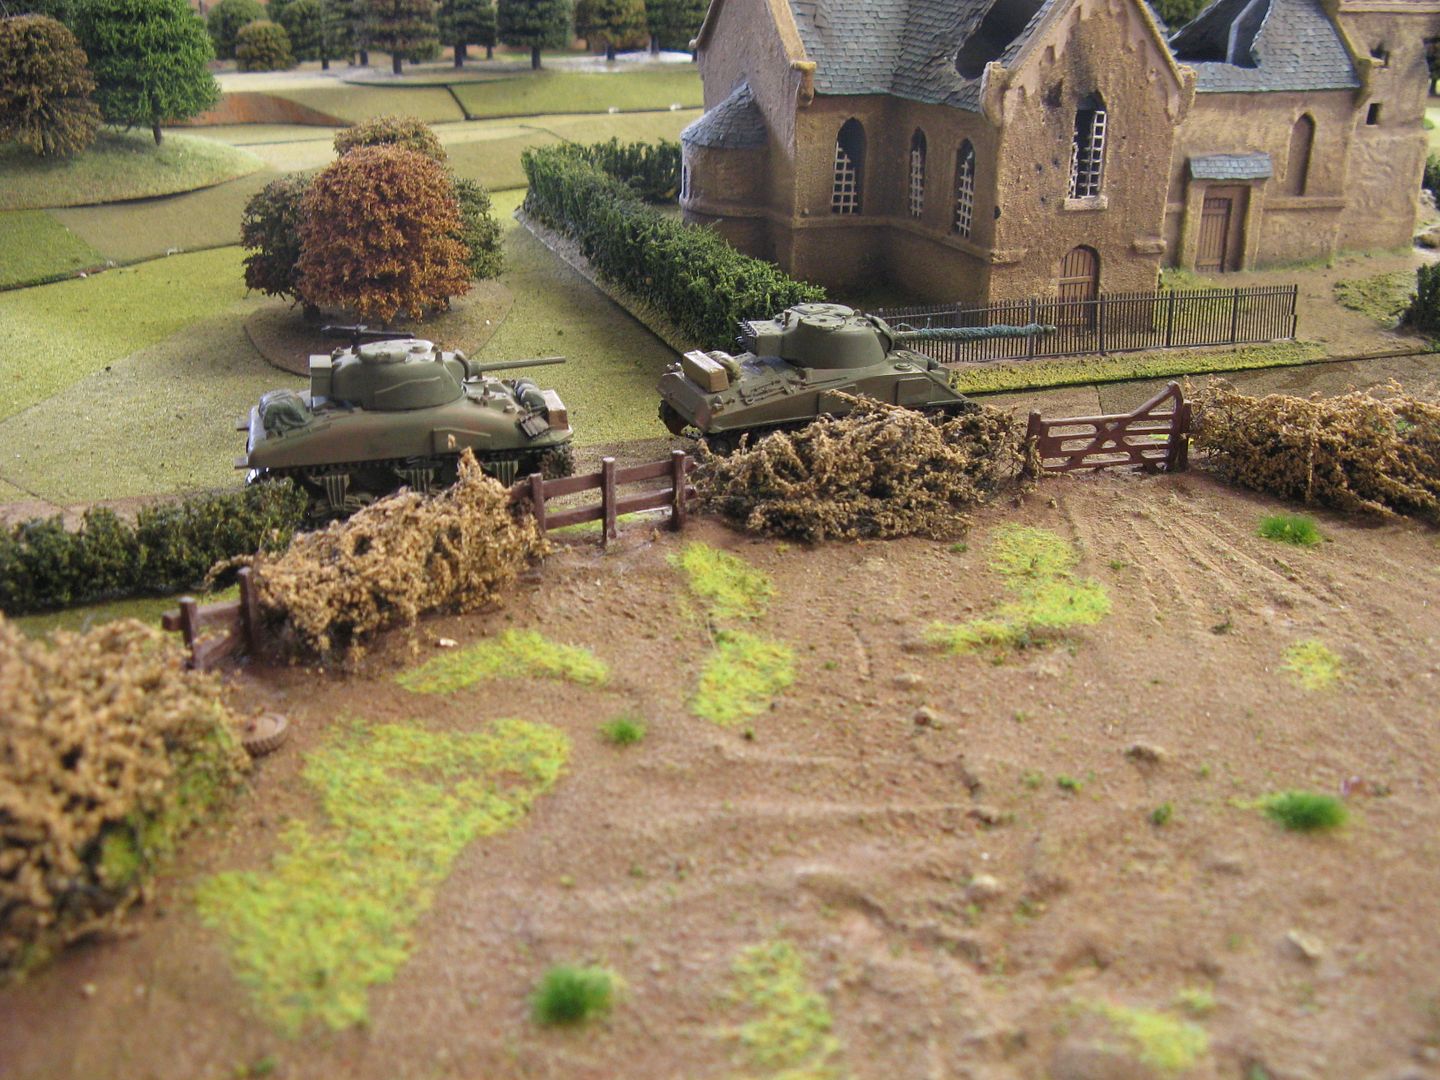
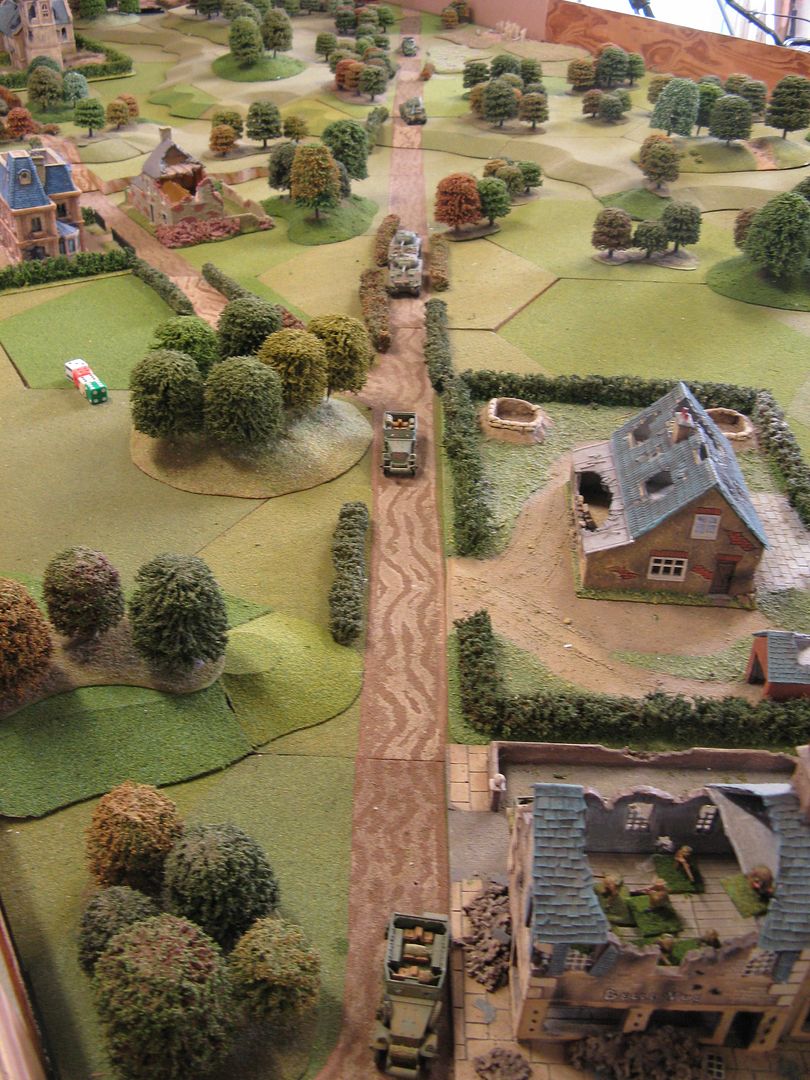
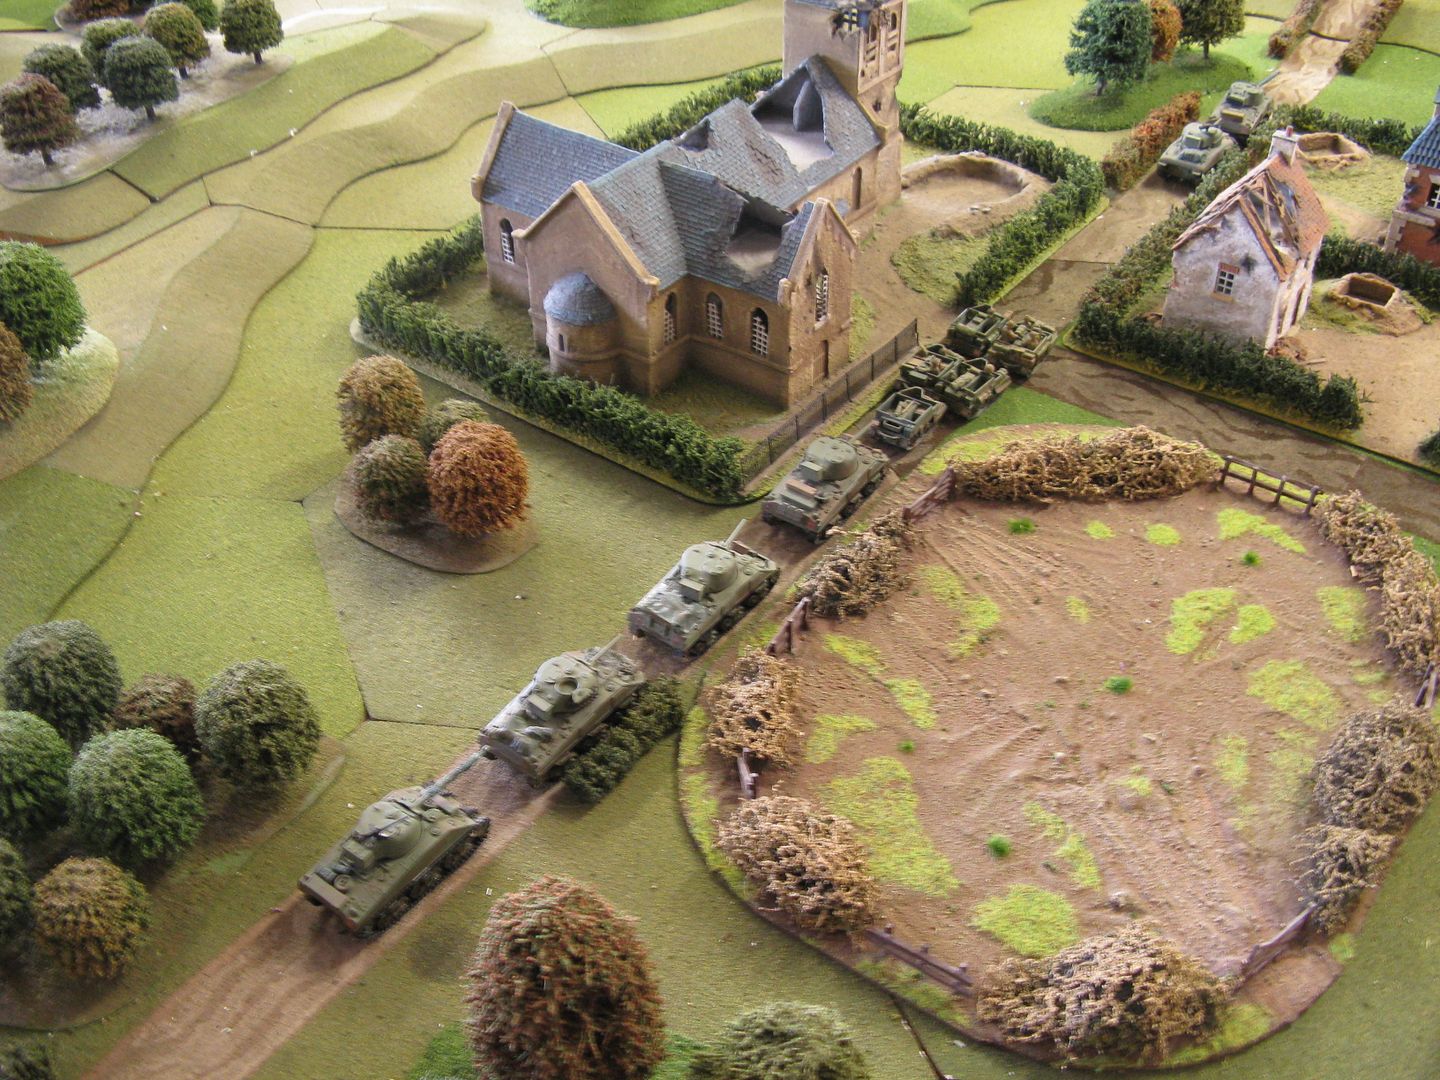
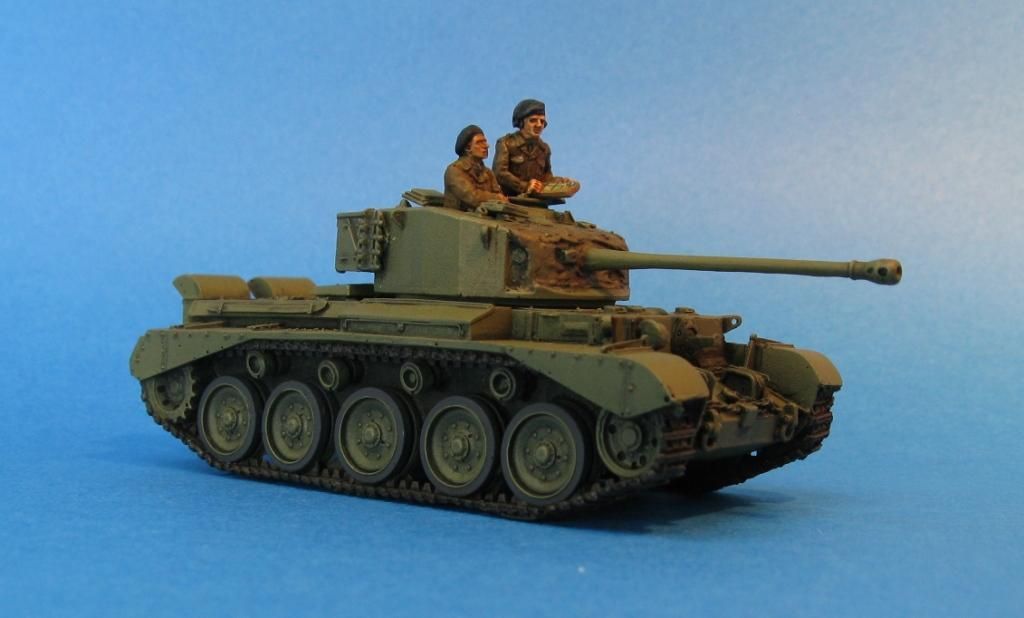
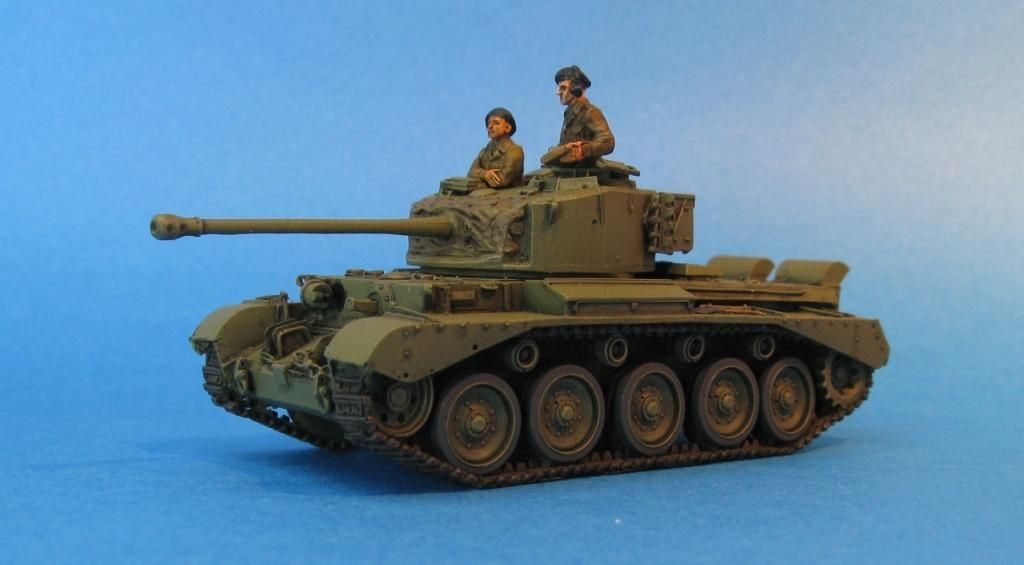
Another recent addition to my late-war WW2 British is this beautiful Milicast Comet (not beautiful because I painted - just a beautiful kit!). The only thing I've added is a couple of AB Figures crewmen.
So there you go. Great tank - works very well in BG: Fall of the Reich - even on its lonesome.
Richard
Tuesday, May 19, 2015
Sunday, May 3, 2015
Plastic Soldier Company - M9 Half-track Platoon
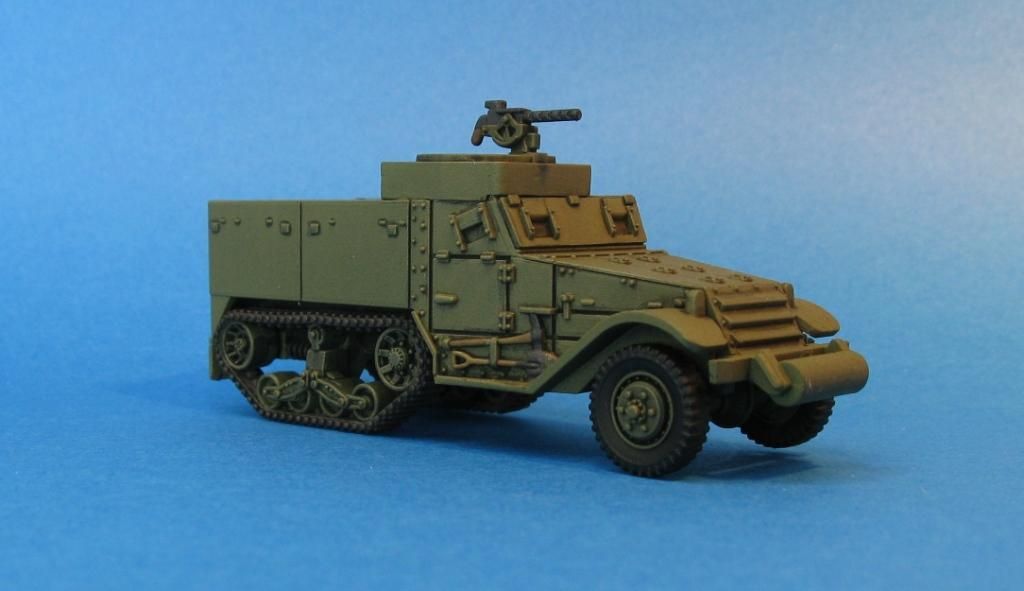
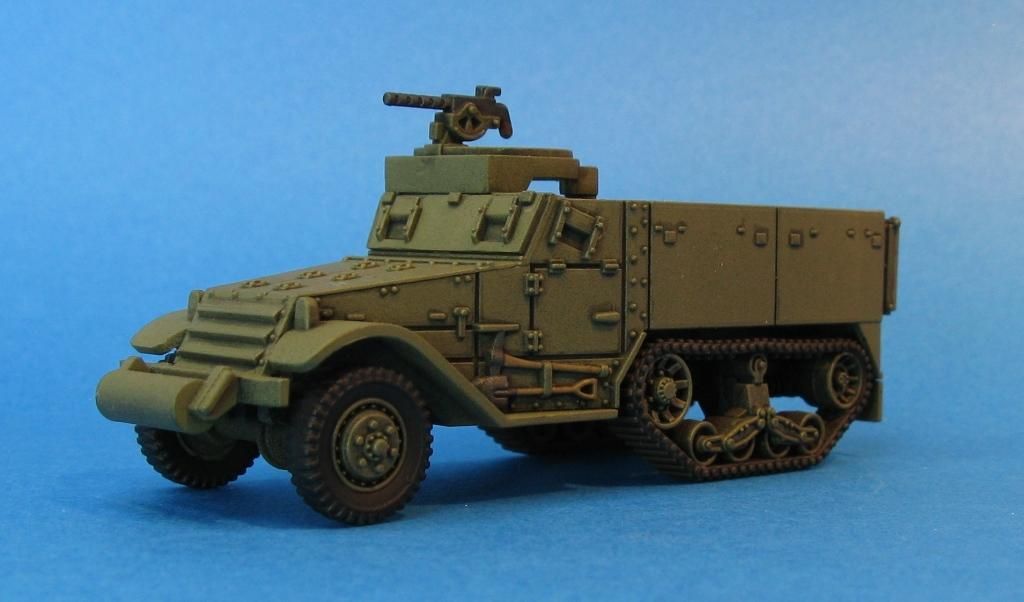
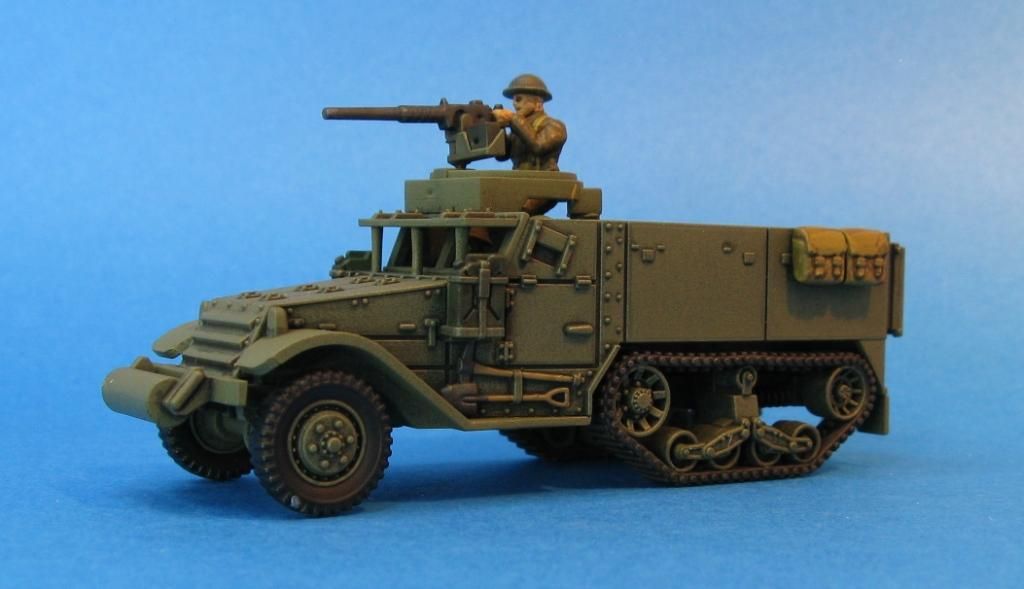
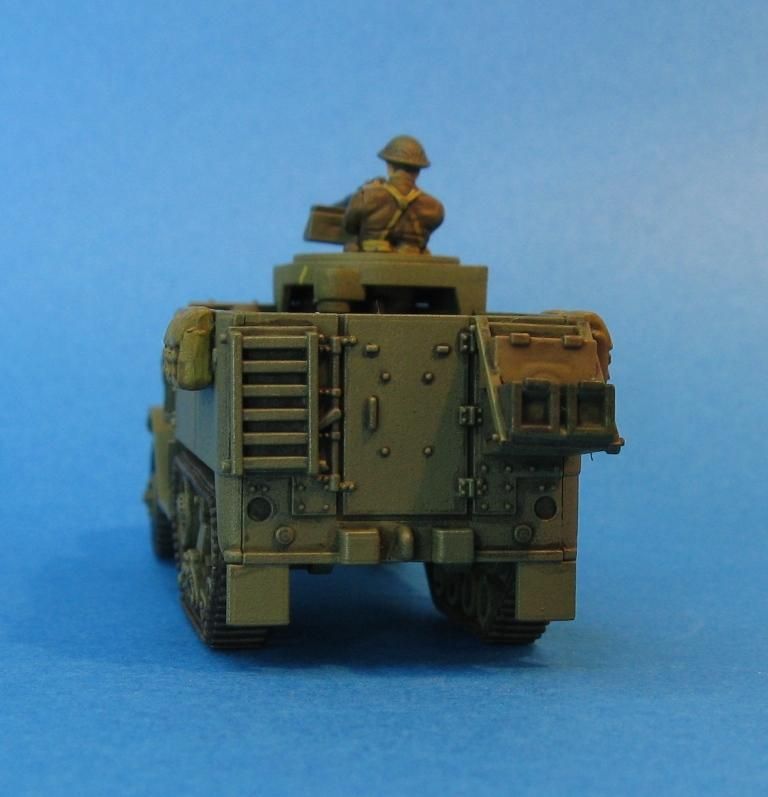
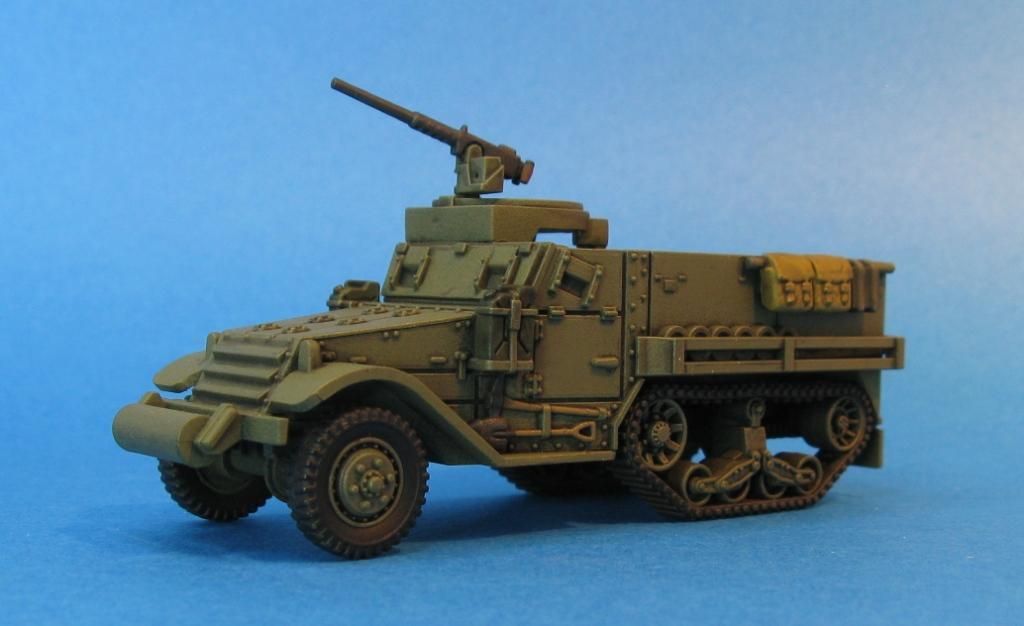
Next up in the new additions department for my late war British is this platoon of PSC M9 Halftracks
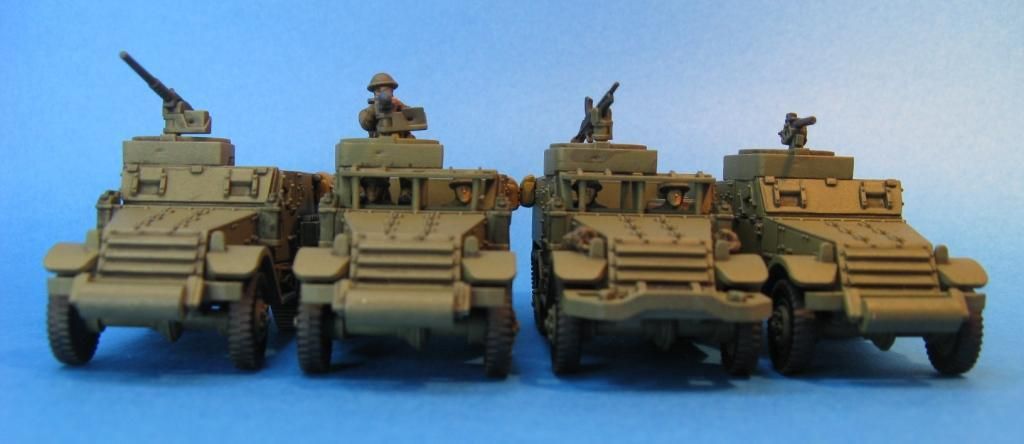
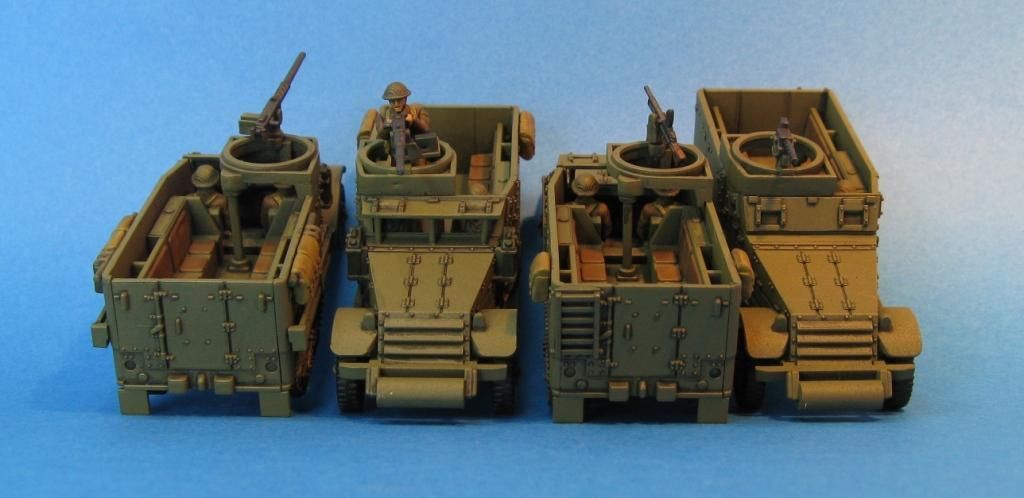
I decided to be exceptionally clever here and stowed them in such a way so I could tell them apart in the heat of battle and knew who was in what ride.
The Platoon Commander's vehicle:
This M9 is plain, with no side stowage - which tells me it's the Platoon Commander's track. It also has a .30 cal on the pulpit - and the driver's visor is closed.
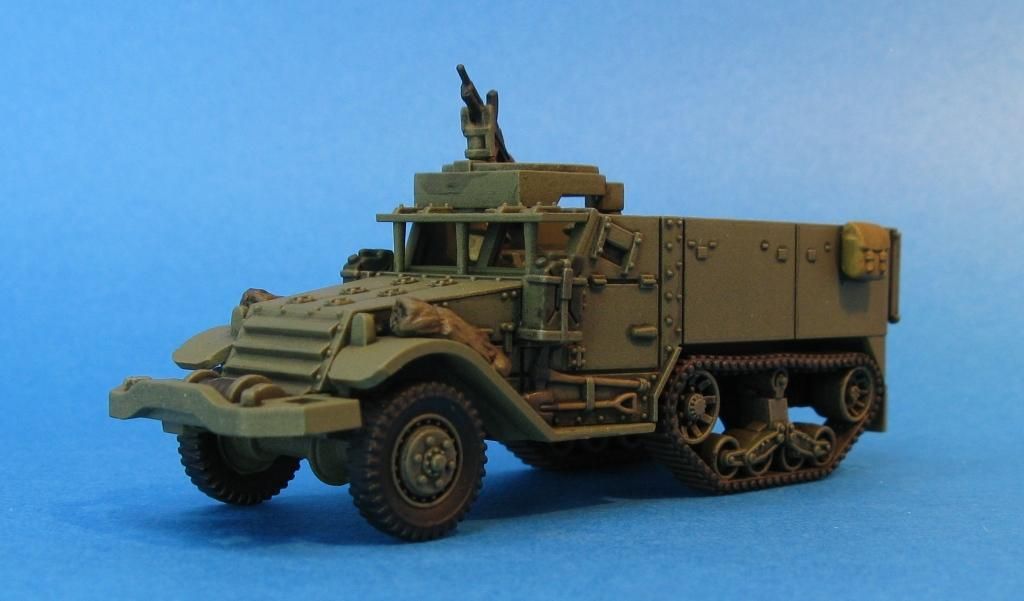
1st Section
1st Section's M9 is armed with a Bren gun and the driver's visor is open. It has 1 pack on each side, so that tell's me it's 1st Section's track.
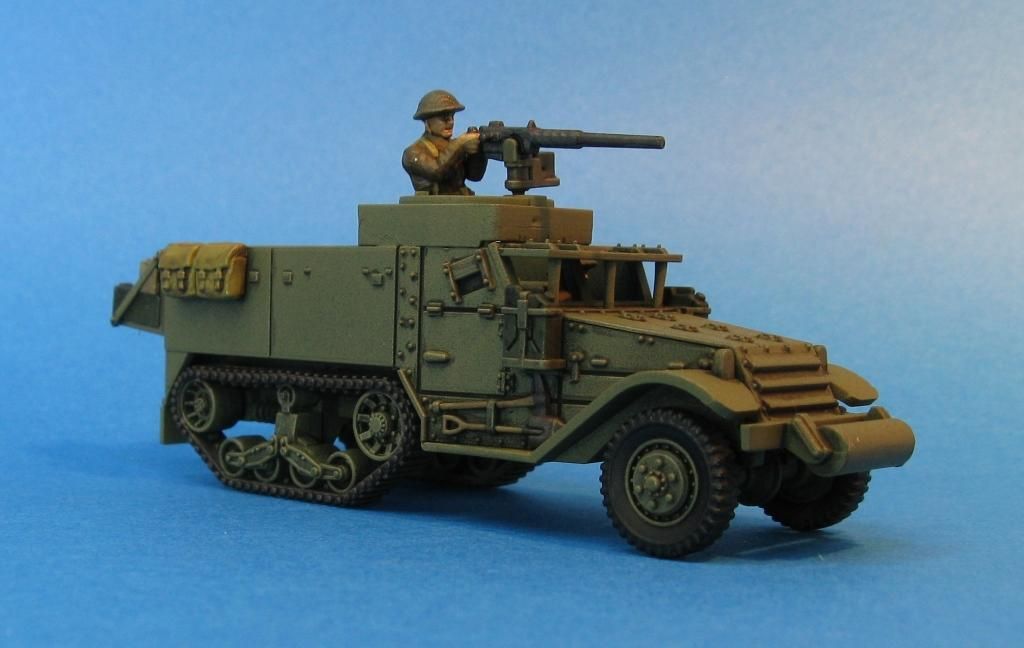
2nd Section
2nd Section's M9 is armed with a .50 cal and the driver's visor is open. It also has rear stowage. The gunner is a PSC figure that comes with the models - but I have changed his rear webbing to look a bit more British. The M9 has 2 packs on each side, so that tell's me it's 2nd Section's track.
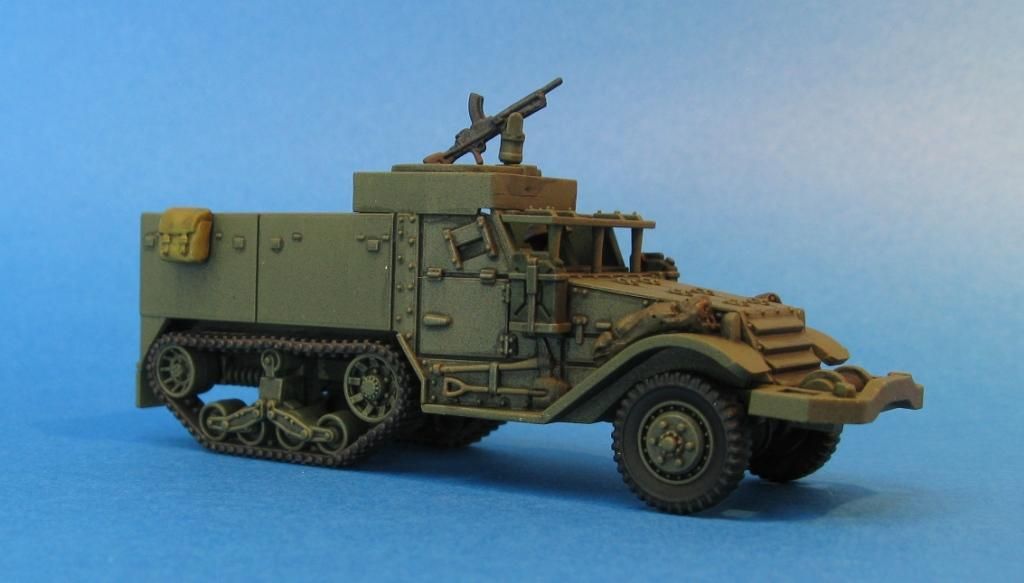
3rd Section
3rd Section's M9 is also armed with a .50 cal and the driver's visor is closed. It has 3 packs (or at least bits of stowage) on each side, so that tell's me it's 3rd Section's track.
So that's my platoon of M9's. They may not look totally lived in, but they work on the tabletop so that's good enough for me. One day, when I can find the appropriate figures - I do chaps for the back or each.
Thanks
Richard
I decided to be exceptionally clever here and stowed them in such a way so I could tell them apart in the heat of battle and knew who was in what ride.
The Platoon Commander's vehicle:
This M9 is plain, with no side stowage - which tells me it's the Platoon Commander's track. It also has a .30 cal on the pulpit - and the driver's visor is closed.
1st Section
1st Section's M9 is armed with a Bren gun and the driver's visor is open. It has 1 pack on each side, so that tell's me it's 1st Section's track.
2nd Section
2nd Section's M9 is armed with a .50 cal and the driver's visor is open. It also has rear stowage. The gunner is a PSC figure that comes with the models - but I have changed his rear webbing to look a bit more British. The M9 has 2 packs on each side, so that tell's me it's 2nd Section's track.
3rd Section
3rd Section's M9 is also armed with a .50 cal and the driver's visor is closed. It has 3 packs (or at least bits of stowage) on each side, so that tell's me it's 3rd Section's track.
So that's my platoon of M9's. They may not look totally lived in, but they work on the tabletop so that's good enough for me. One day, when I can find the appropriate figures - I do chaps for the back or each.
Thanks
Richard
Tuesday, March 31, 2015
Milicast Recce Stuart Jalopy
Well the last post was all about starting a new "project" that was related to my British Battlegroup: Fall of the Reich force. In addition to the LVTs I had a bunch of other stuff nearing completion as well - so just like most of my projects, some of them got finished first...
One of these is a Milicast Stuart Jalopy - a recon choice in FoTR.
I really love this little vehicle, which comes fully stowed giving it heaps of character. I added the under side hull using plastic card (it is cast as 1 piece so the underside is empty), the .50 cal from a Matchbox Priest and the two AB Figures crewman in pixie suits.
Eventually I will probably weather it to make it more muddy and dusty - but I'm quite happy with where it is now.
One thing I love about this little fella, is that it doesn't have delusions about its capabilities. With no turret and no gun, you're not tempted to take on things a recce vehicle should really be avoiding. Instead you just go for things you can kill with a pintle mounted MG - deployed guns and infantry.
In a recent game, this fella was my star. Survived the whole game, was fairly aggressive, got shots in nearly every turn and in the end took out a Pak40 with extra crew, and a complete infantry section. May not sound like much - but it had a significant effect on the game. I was rather chuffed.
That's all for now
Richard
One of these is a Milicast Stuart Jalopy - a recon choice in FoTR.
I really love this little vehicle, which comes fully stowed giving it heaps of character. I added the under side hull using plastic card (it is cast as 1 piece so the underside is empty), the .50 cal from a Matchbox Priest and the two AB Figures crewman in pixie suits.
Eventually I will probably weather it to make it more muddy and dusty - but I'm quite happy with where it is now.
One thing I love about this little fella, is that it doesn't have delusions about its capabilities. With no turret and no gun, you're not tempted to take on things a recce vehicle should really be avoiding. Instead you just go for things you can kill with a pintle mounted MG - deployed guns and infantry.
In a recent game, this fella was my star. Survived the whole game, was fairly aggressive, got shots in nearly every turn and in the end took out a Pak40 with extra crew, and a complete infantry section. May not sound like much - but it had a significant effect on the game. I was rather chuffed.
That's all for now
Richard
Sunday, March 8, 2015
Airfix LVT IV - Work-in-Progress
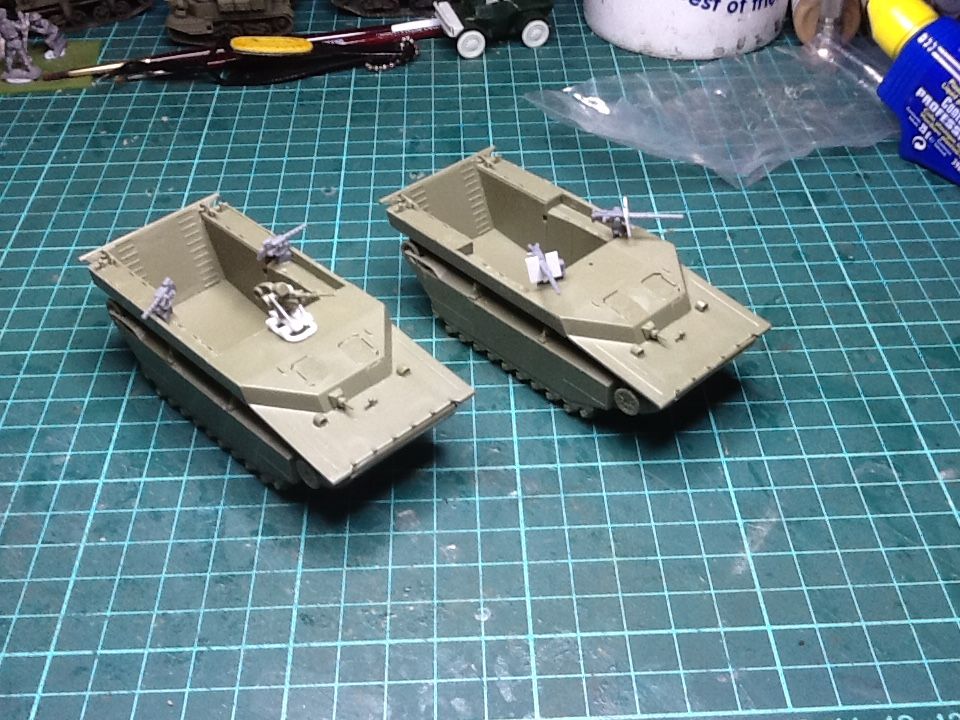
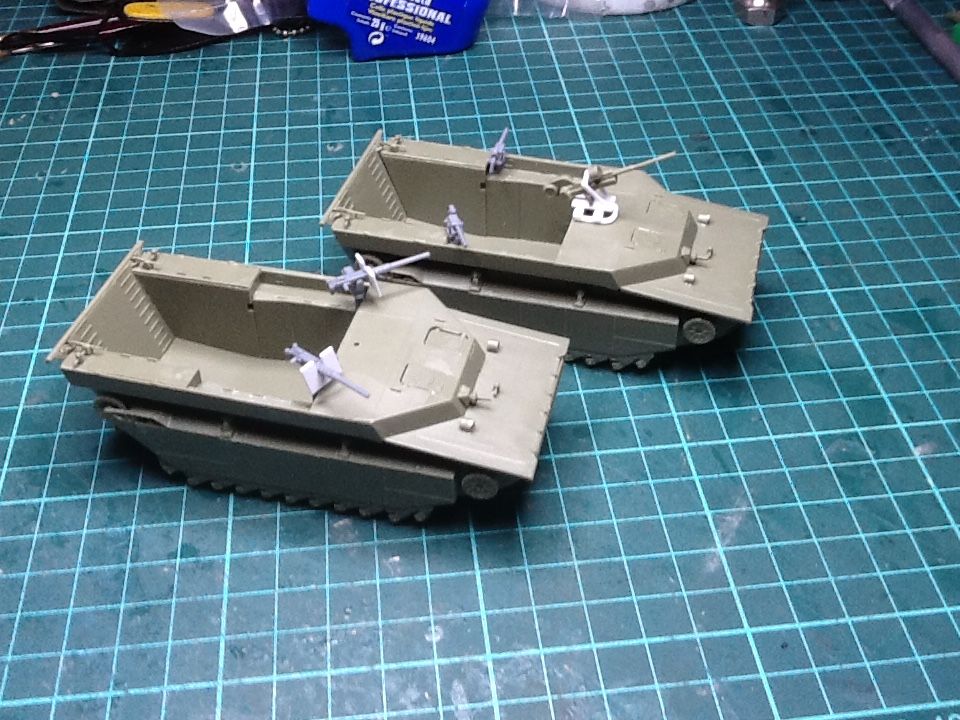
I've been on a bit of a building spree lately, and over the weekend finished building these 2 ancient Airfix kits:
I've "chunkified" the Airfix 20mm Polsten gun as it looked a bit lame, so I used some photos of the Milicast Polsten as a guide and used various Evergreen plastic rods and beam to make it look a bit better - in a wargaming sense - not an accuracy sense. I also added 2 x PSC .30 cal brownings to that LVT, so it has the right weaponry of Battlegroup: Fall of the Reich. FoTR provides for 2 different British LVT's, so I decided to make the other one - so I've added 2 x PSC .50 cals with plastic card gun shields.
Nothing to tricky, but within my limited skill set.
So they are now basically ready for painting. It will be interesting to see how they perform in a game - other than having massive targets painted on them - as they hold a load of infantry
Thanks
Richard
I've "chunkified" the Airfix 20mm Polsten gun as it looked a bit lame, so I used some photos of the Milicast Polsten as a guide and used various Evergreen plastic rods and beam to make it look a bit better - in a wargaming sense - not an accuracy sense. I also added 2 x PSC .30 cal brownings to that LVT, so it has the right weaponry of Battlegroup: Fall of the Reich. FoTR provides for 2 different British LVT's, so I decided to make the other one - so I've added 2 x PSC .50 cals with plastic card gun shields.
Nothing to tricky, but within my limited skill set.
So they are now basically ready for painting. It will be interesting to see how they perform in a game - other than having massive targets painted on them - as they hold a load of infantry
Thanks
Richard
Sunday, February 15, 2015
WW2 Defences
Recently I finally got around to making/painting some defences for the Germans - particularly for the game Battlegroup: Fall of the Reich.
First up is a Pantherturm III. This was simply made with balsa wood and a bit of plastic card. I fitted if so I could use a PSC Panther turret - which probably makes it less than 100% accurate, but doesn't worry me!
Now a Battlefield Accessories Wooden Bunker - I've probably had for 5+ years...
and a Battlefield Accessories Concrete Bunker
The BA stuff is actually sold as 15mm, but I find it works well for 20mm.
Anyway - that's it.
Thanks
Richard
First up is a Pantherturm III. This was simply made with balsa wood and a bit of plastic card. I fitted if so I could use a PSC Panther turret - which probably makes it less than 100% accurate, but doesn't worry me!
Now a Battlefield Accessories Wooden Bunker - I've probably had for 5+ years...
and a Battlefield Accessories Concrete Bunker
The BA stuff is actually sold as 15mm, but I find it works well for 20mm.
Anyway - that's it.
Thanks
Richard
Friday, January 2, 2015
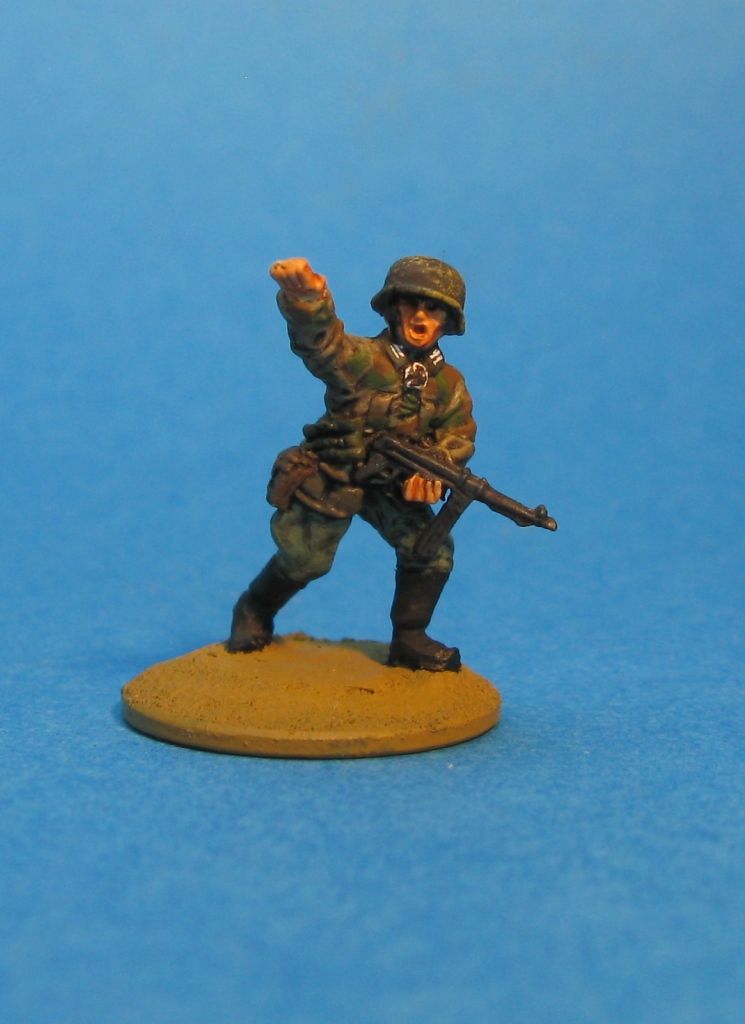
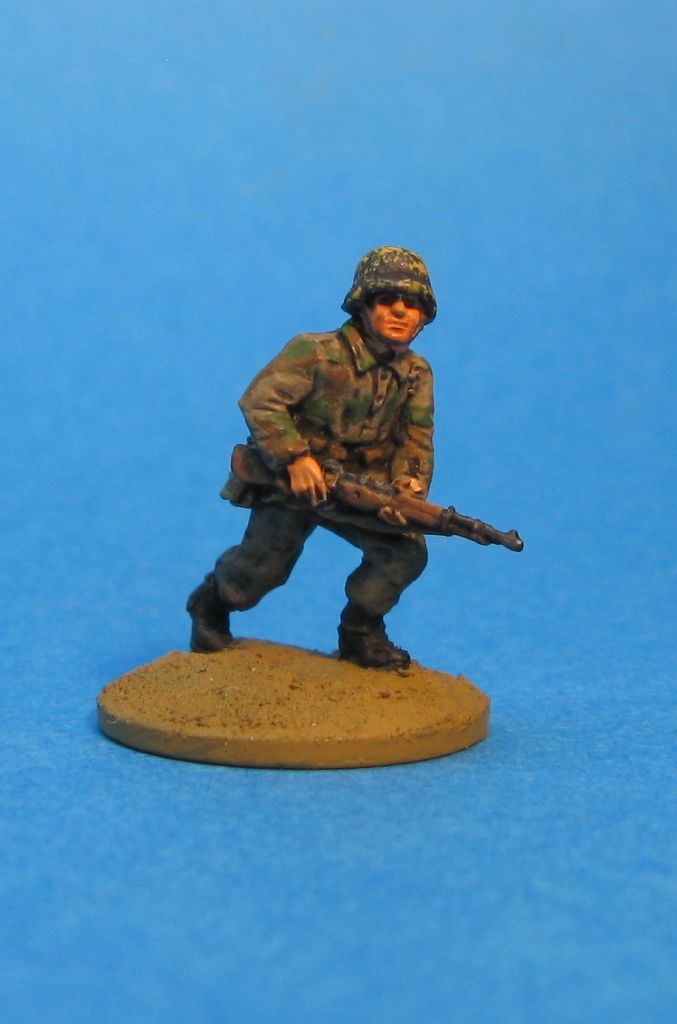
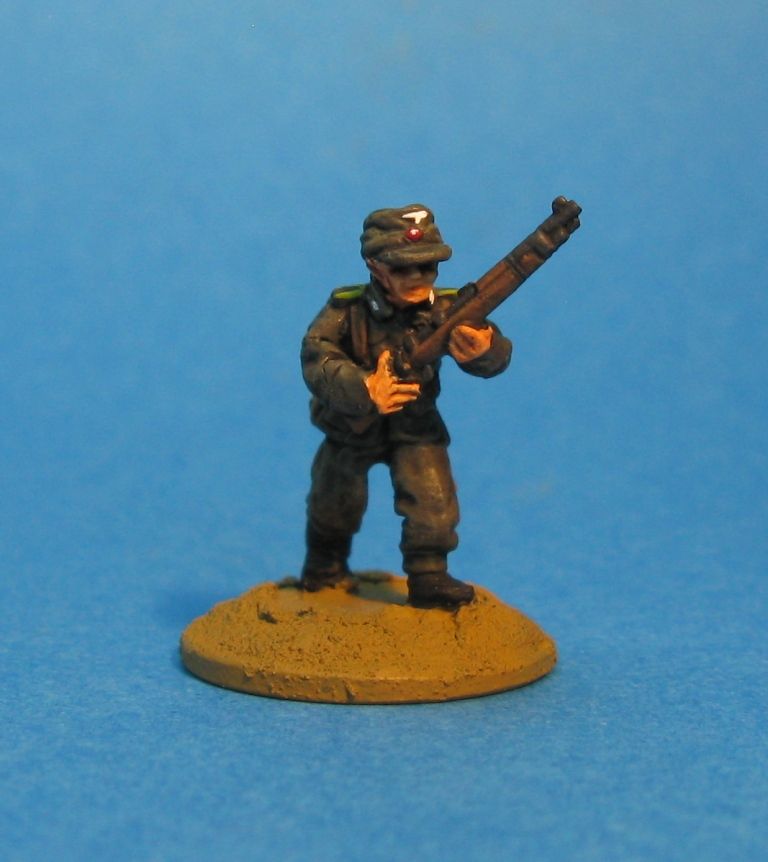
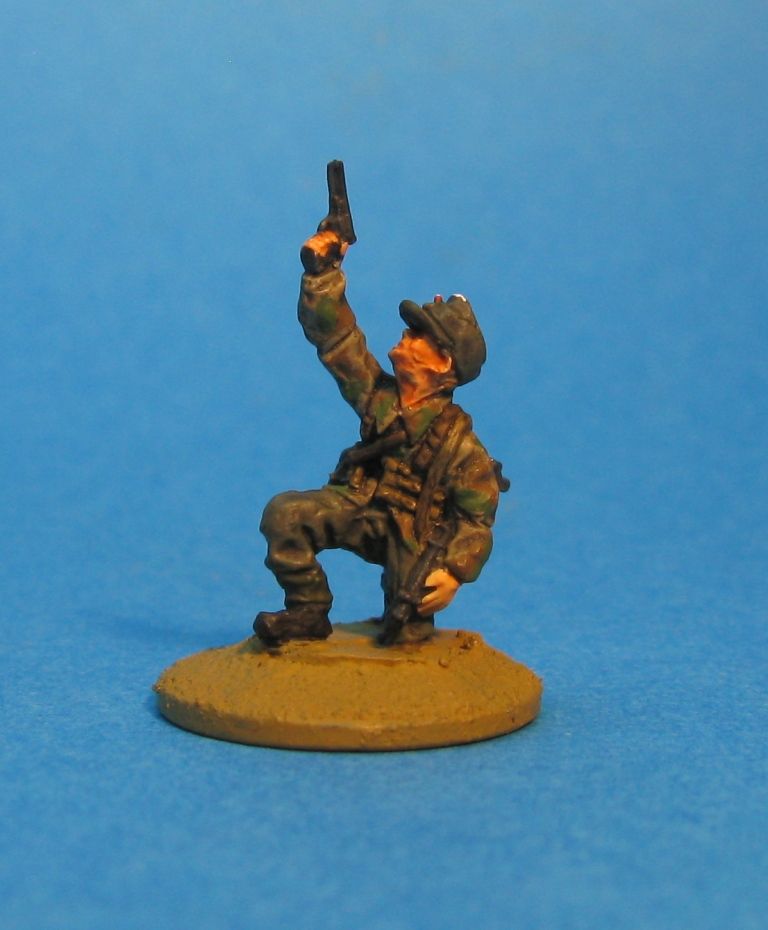
German Panzergrenadier Platoon Command
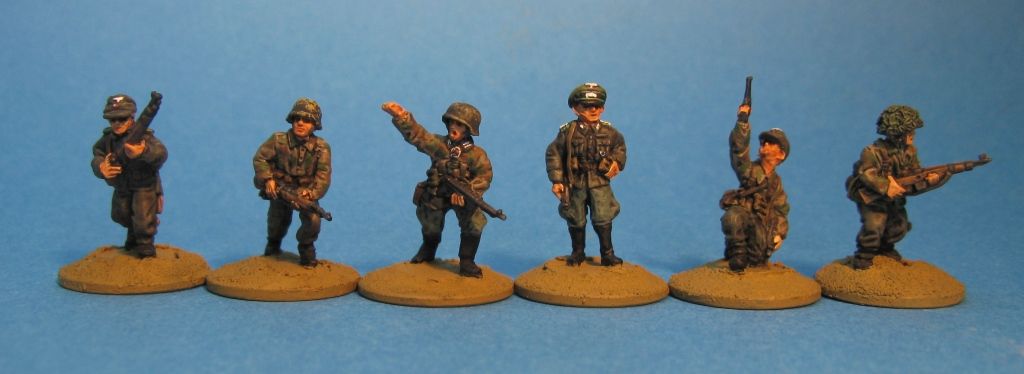
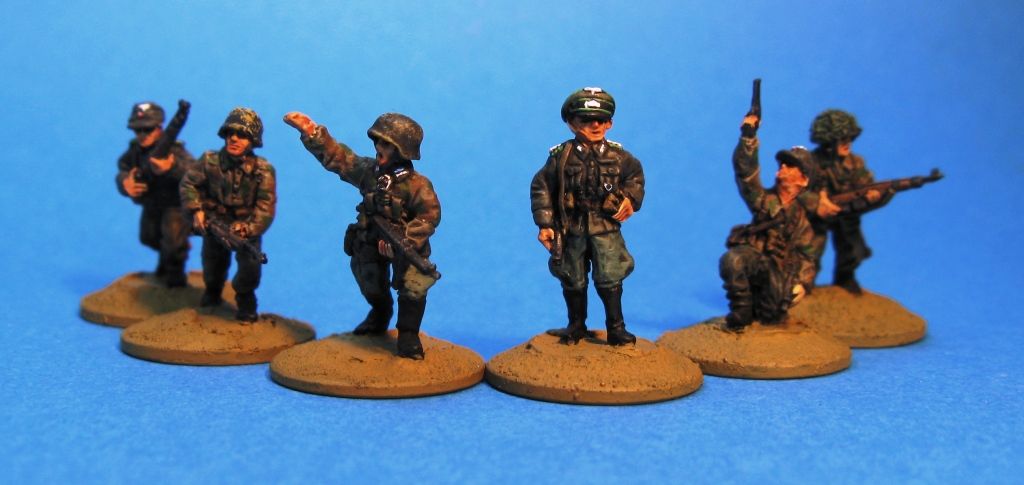
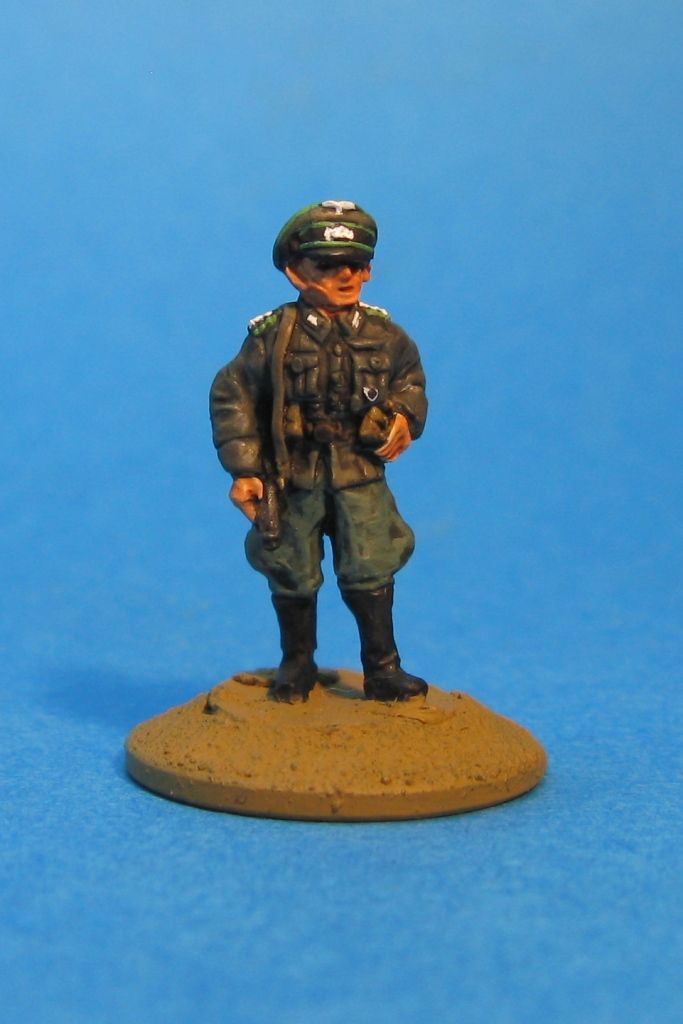
Just thought I would post up some recently "completed" German panzergrenadiers I've done to form my new PG platoon's command team - for Battlegroup Overlord and Fall of the Reich.
Not sure what I did to the colour there!
Individual shots:
Thanks for looking
Richard
Not sure what I did to the colour there!
Individual shots:
Thanks for looking
Richard
Sunday, November 16, 2014
The 27 Foot Battle
To celebrate a friend of mine's retirement on Friday (Simon), we decided to have an all day battle yesterday on his 27 foot long table using Battlegroup Overlord (BGO). It was a great day, using use over 1500 points a side, with plenty of swings back and forth, like a tiny unit of British recce troops winning posthumous VCs as they held up the entire German advance with a bren gun!
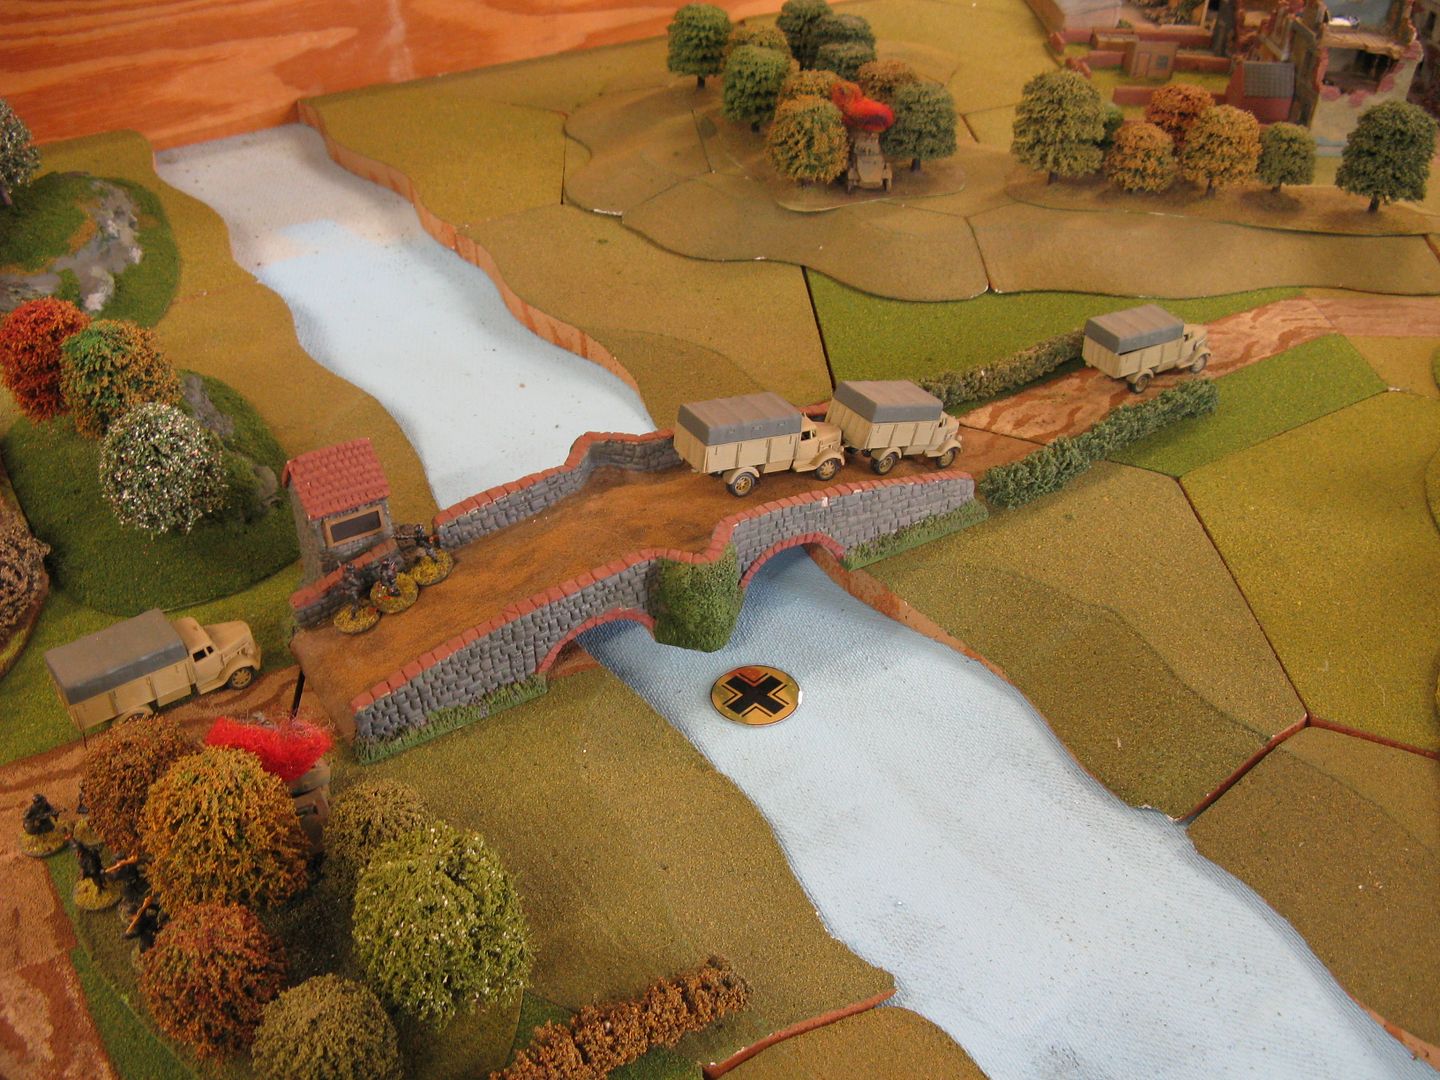
As I forgot to take photos before the game I'll have to describe the set up - First there was a river with a bridge in the centre of the table held by a small British recce force.
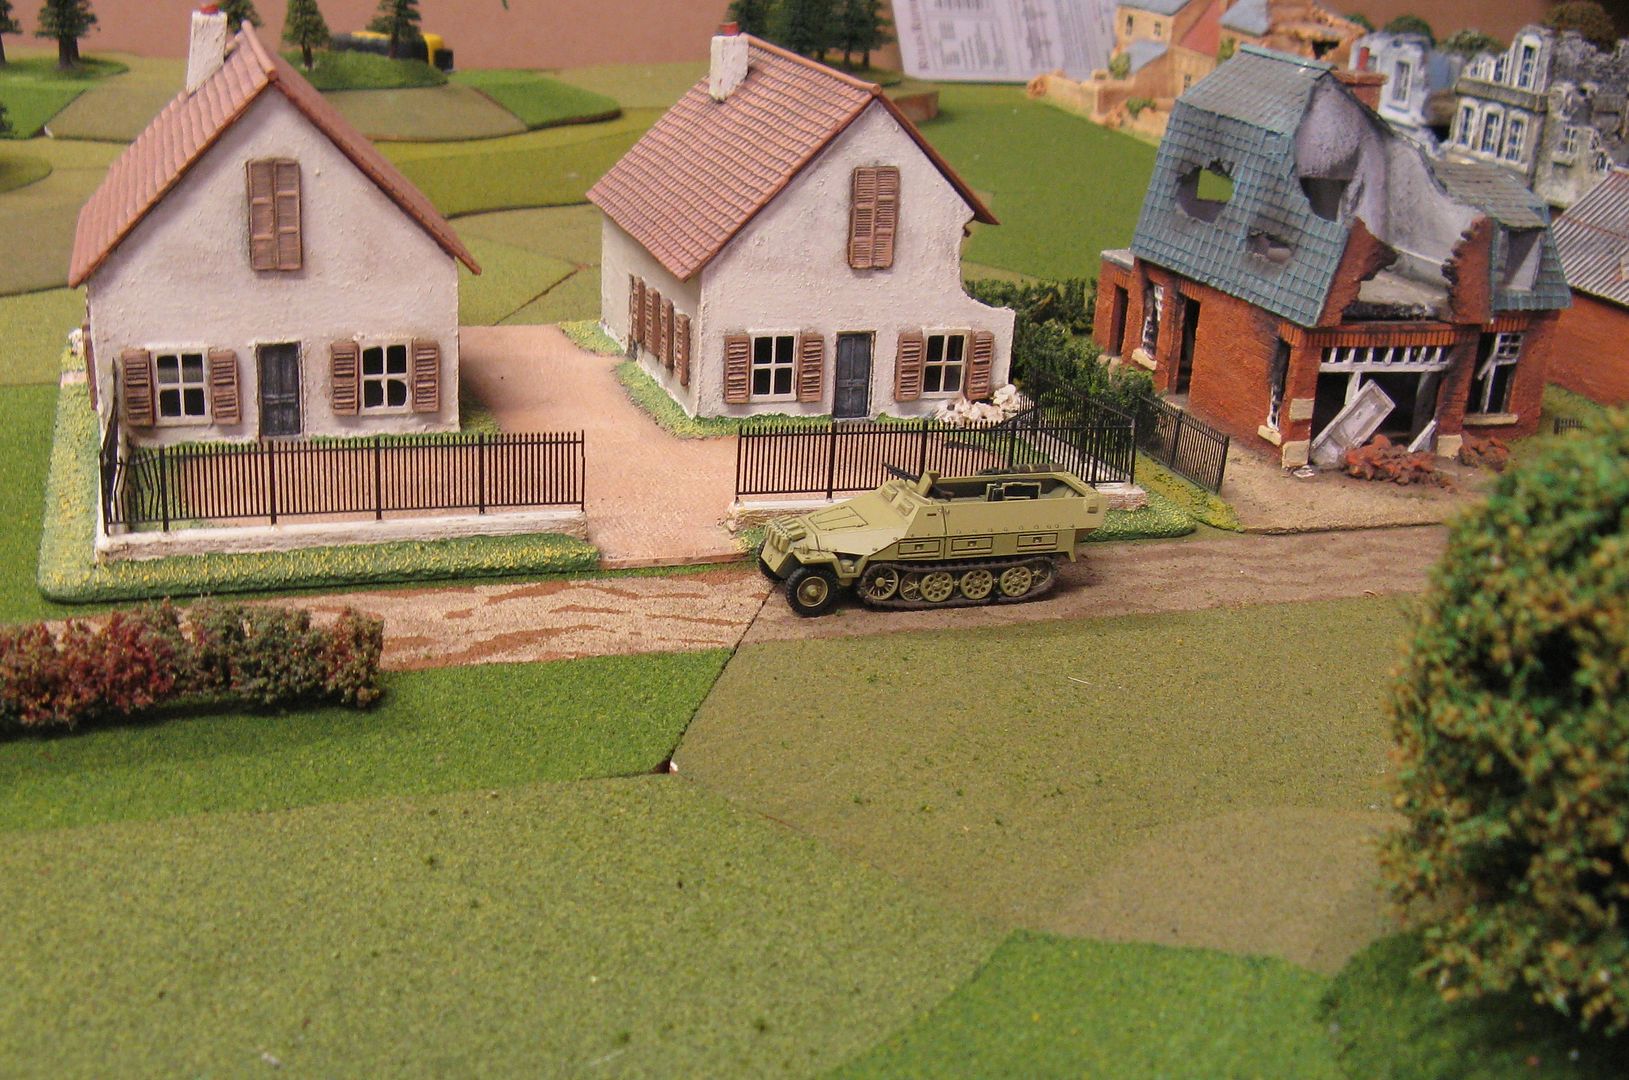
The Germans also had a recce force that would enter from 1 of 3 roads near the centre of the table. 1 road was on the German side of the bridge - the 2 other roads were on the British side, The road was determined randomly once the British recce force had set up and it turned out (a 2 in 6 chance) that the German recce unit was on the German side of the river.
Each force had a vanguard of 1 infantry platoon, 1 tank platoon and their Forward HQ that start on a road on the table. The rest of the forces came in as reserves on turn 3.
Finally each side had one objective on either side of the river, and the bridge counted as an objective worth 2 chits. If you captured an enemy objective it also forced 2 chits, whereas catching one of your own only forced 1 chit. We did that as both sides have 90+ Battle Rating (BR).
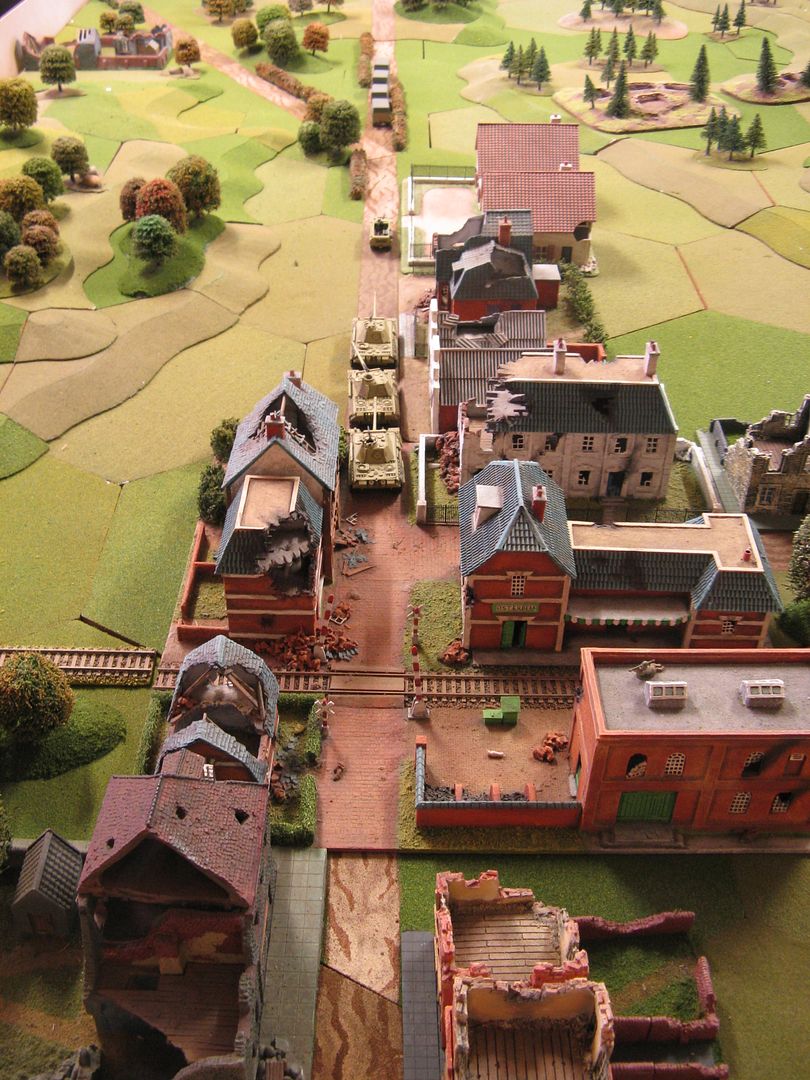
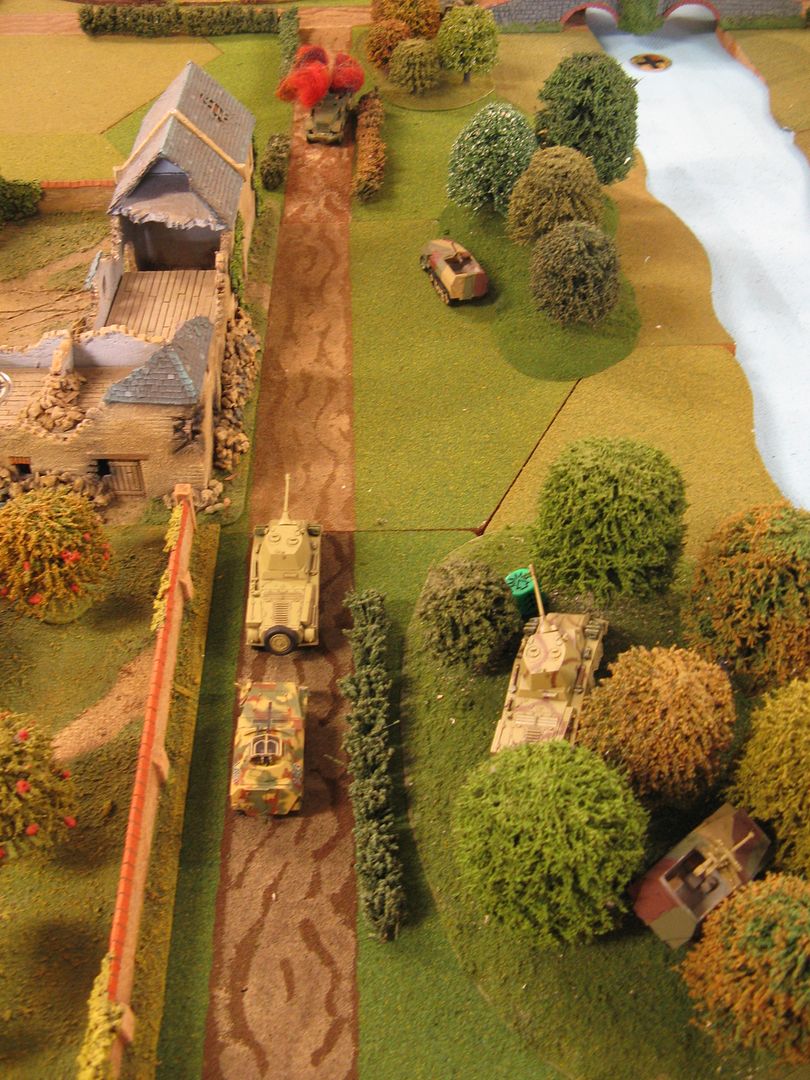
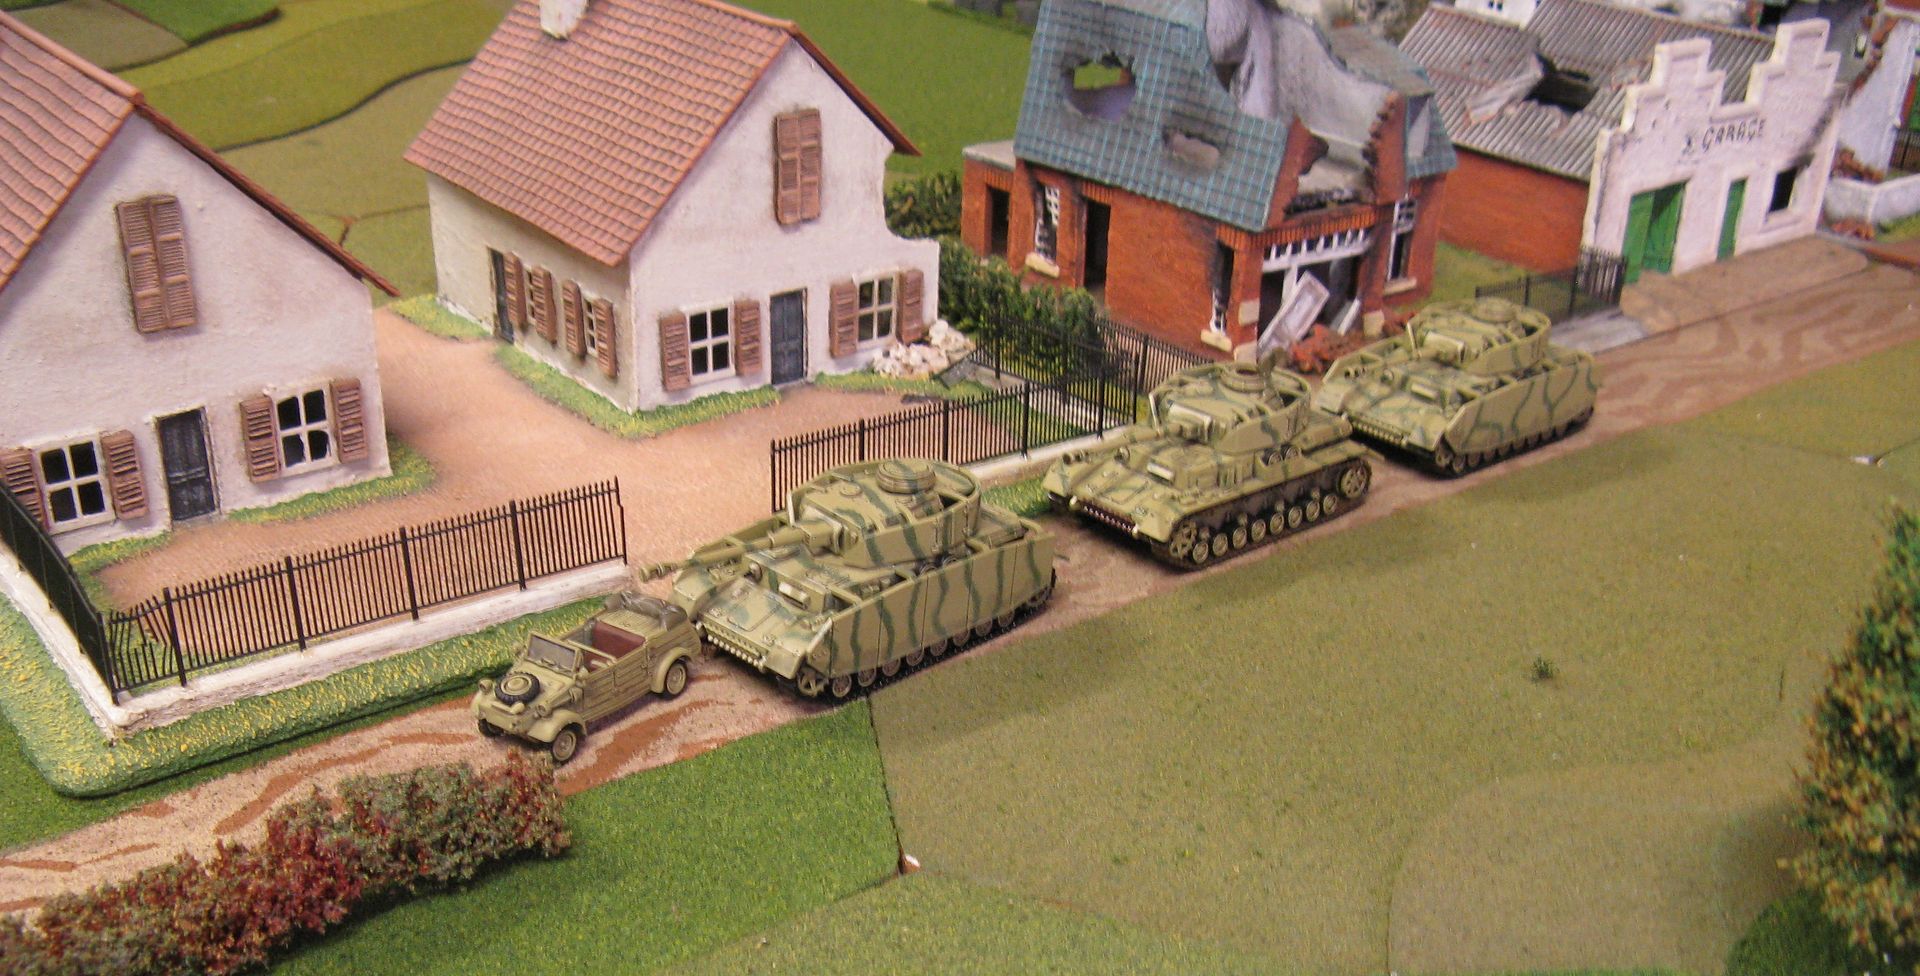
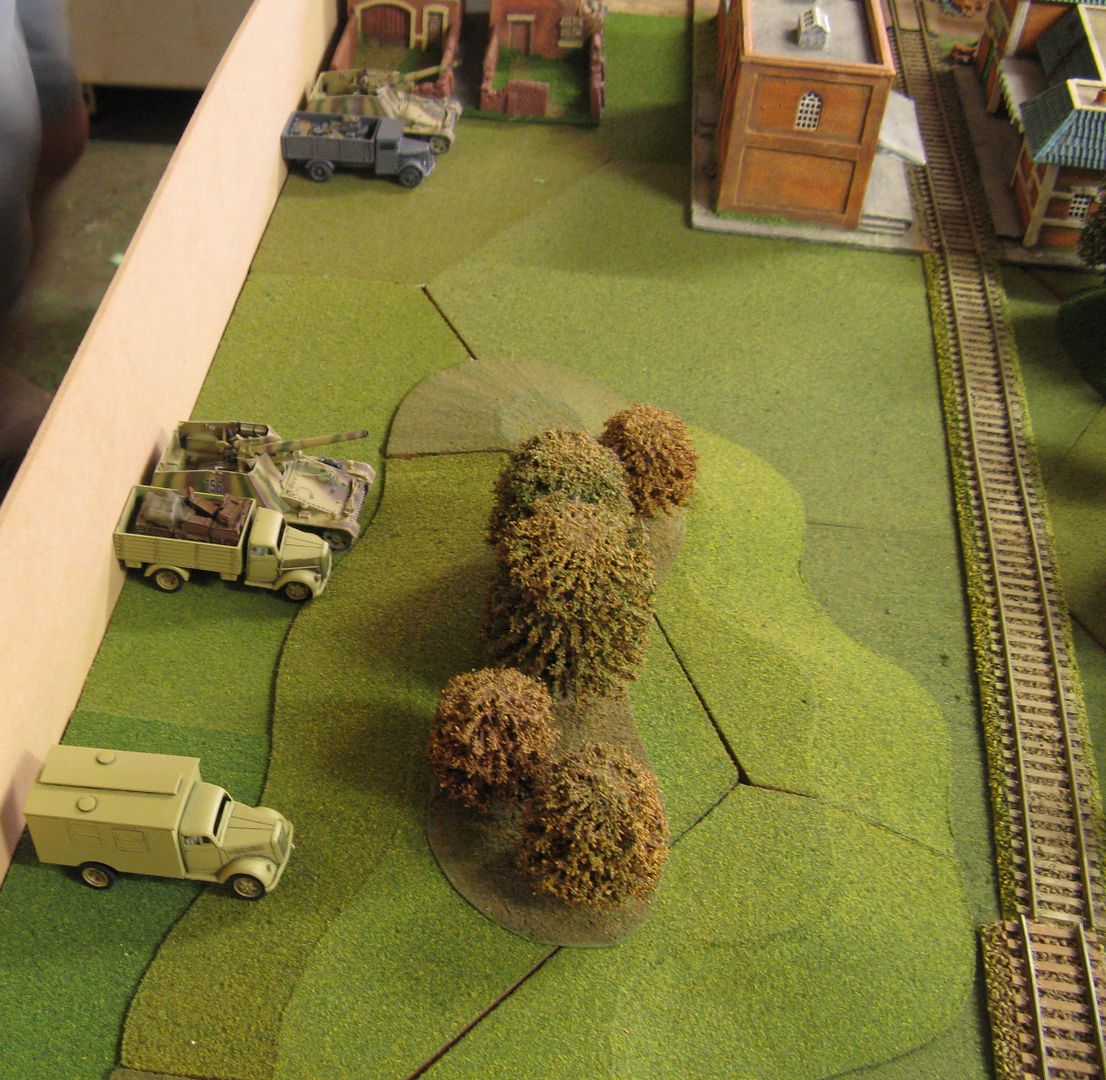
This is the German vanguard driving as fast as it could up the table towards the bridge - which is so far away that you can't even see it.
The Panther platoon
Fwd HQ Command Track
The PG platoon. We certainly pushed our luck with these guys - paid off to begin with, but we pushed that luck too far.
Meanwhile at the bridge, the Puma's take out an unsuspecting M5 halftrack. You can see the bridge at the back of the photo
The troops spill out and are pinned
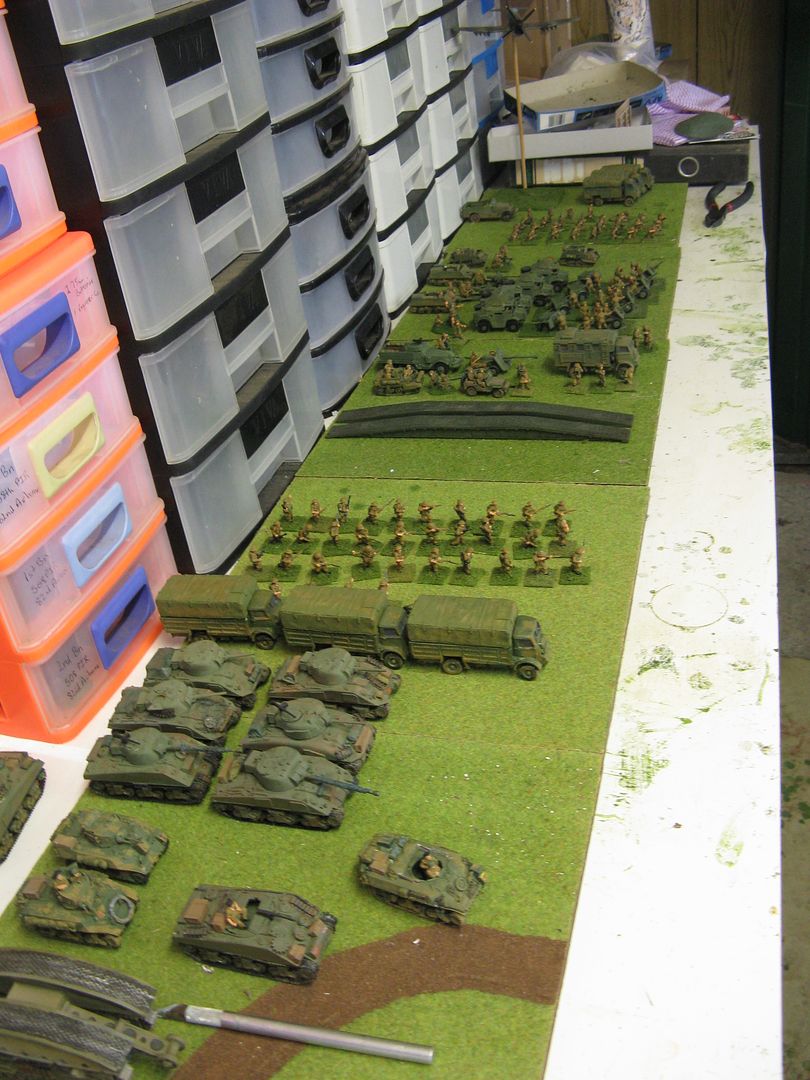
British reinforcements waiting to come on - my German force beauty shot did not come out...
This damn little Humber LRC survived the whole game, unlike the rest of the British recce force - here the sneaky devil is rudely capturing one of our objectives.
The Puma missed a difficult shot at the LRC, while SdKfz250/9 re-pinned the British infantry and the German Mounted recce patrol assaulted and wiped out the remaing British dismounts
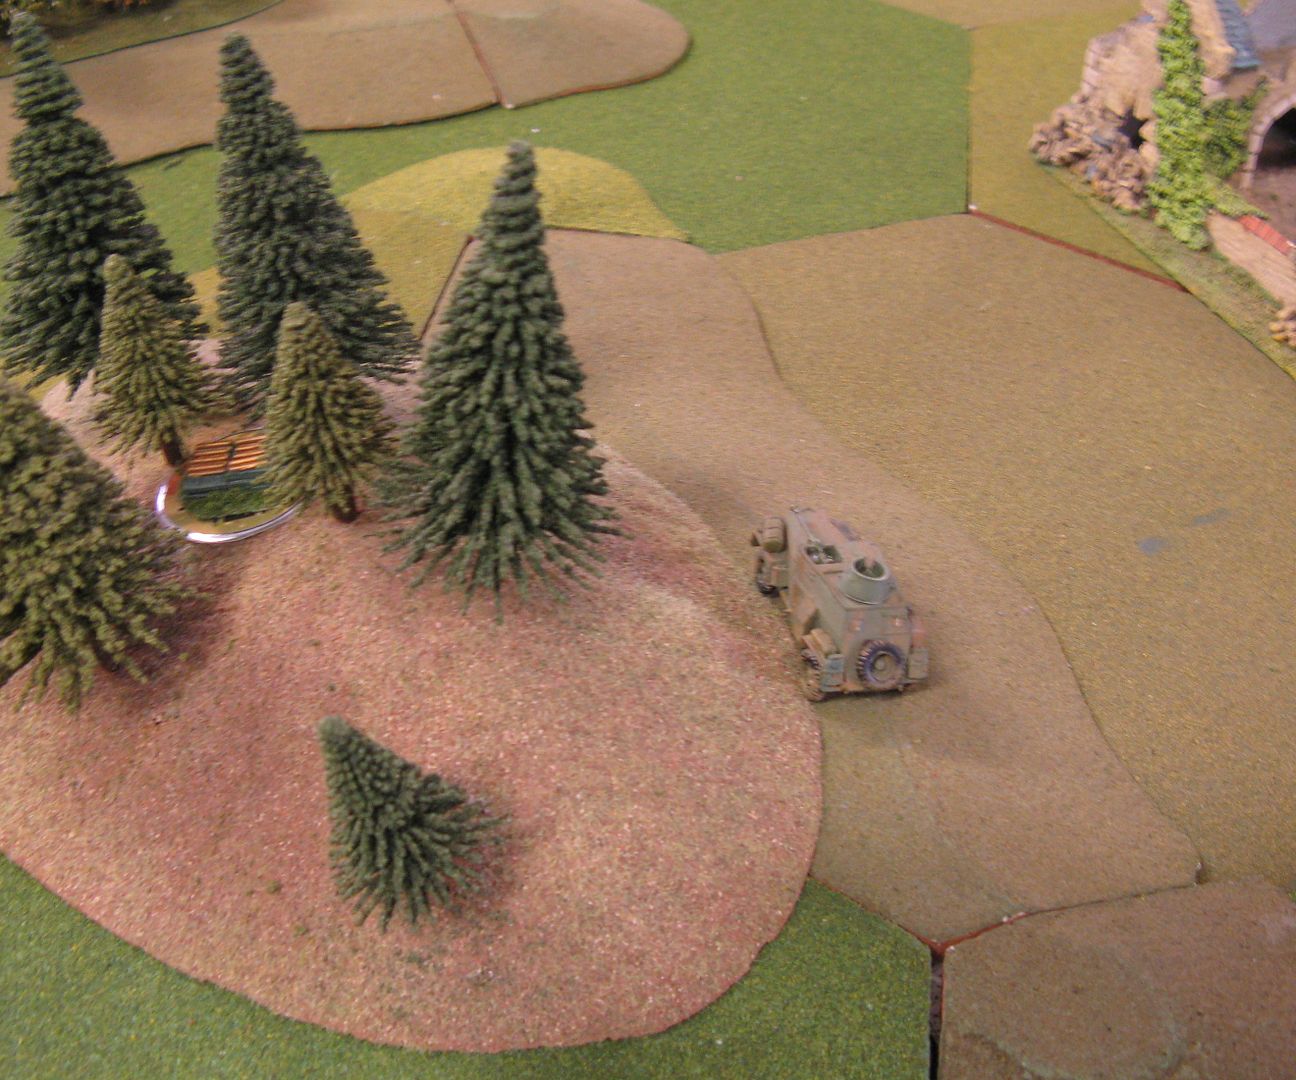
Opel Blitz's leading the vanguard of the German force - and it's all about to go pear-shaped. One of the trucks and just dismounted it's 3 units, including the Shreck team, which has taken out the Humber IV in the woods.
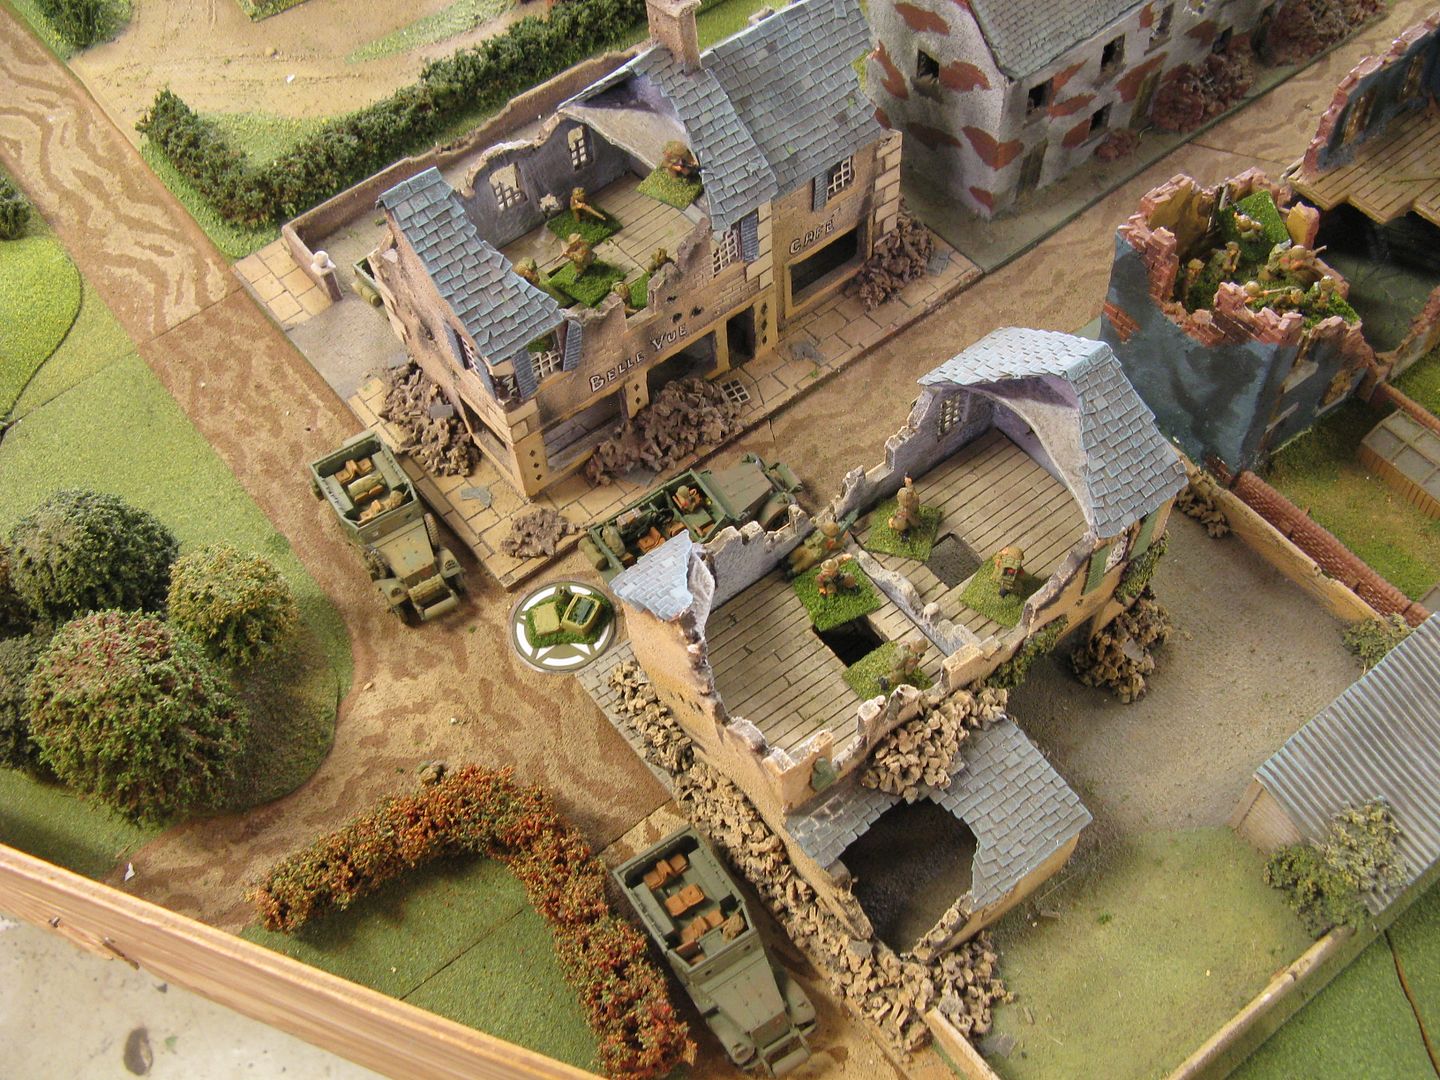
British reinforcements begin to arrive at a small village near the bridge
More reinforcemetns
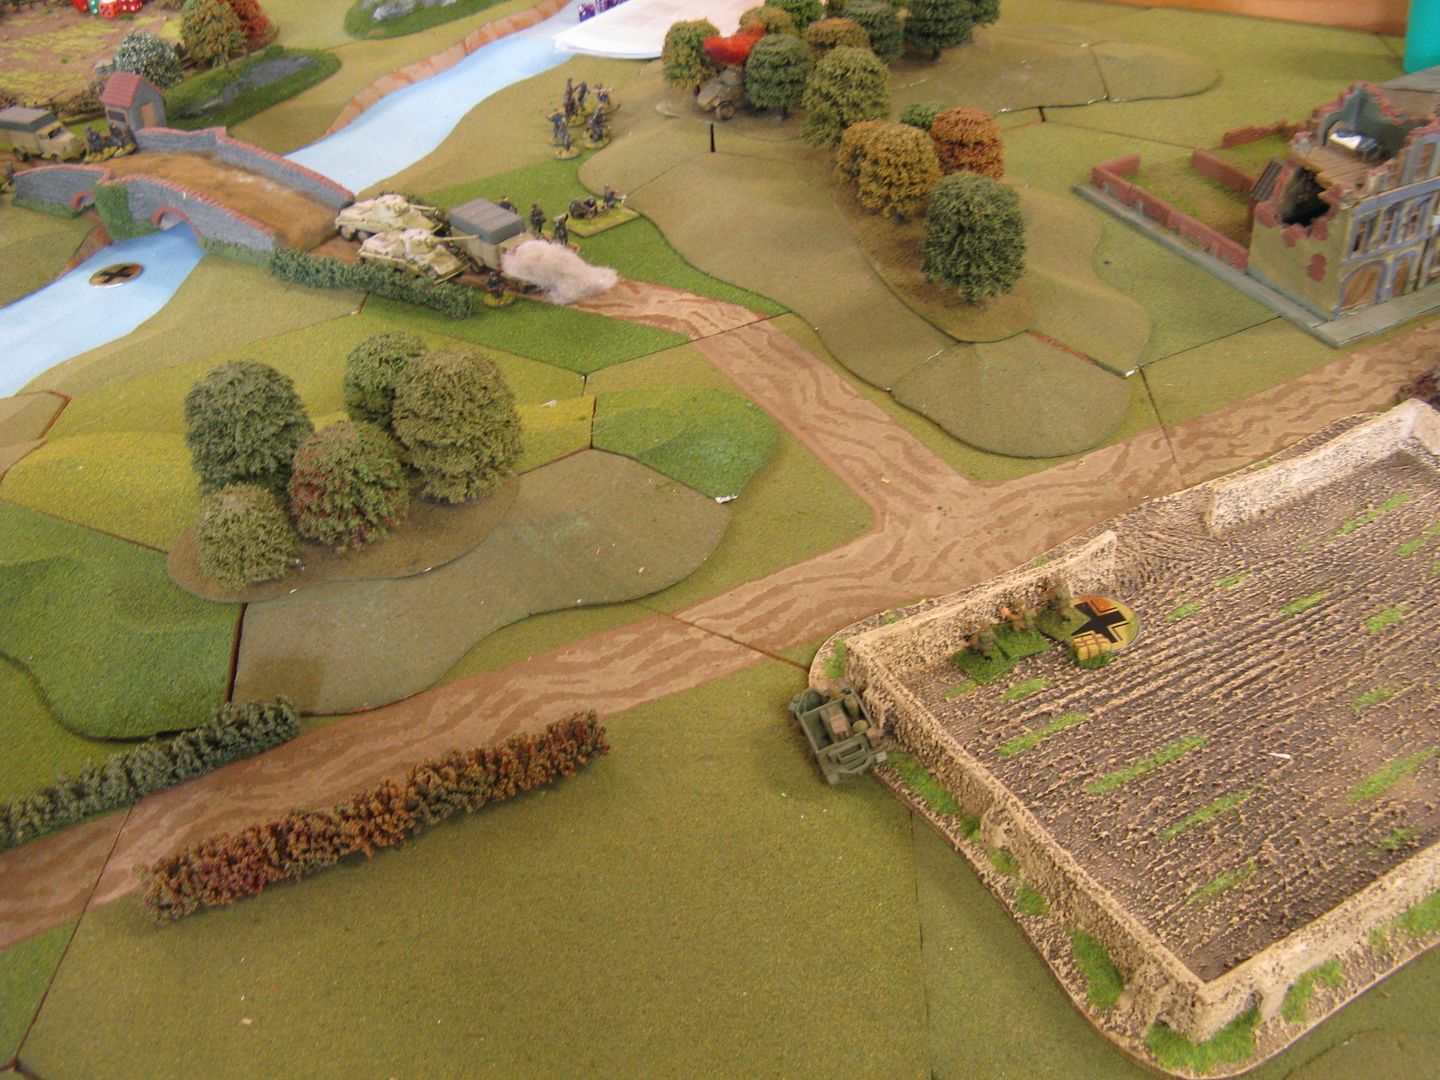
Our luck ran out, as a plucky Carrier recce team lit up the first Opel Blitz. In the ensuring rolling for casualties, they managed to kill a complete 80mm mortar team, an MG Team and a couple of guys from the rifle team. Ouch - 3 chits for a truck! You can just see the wall they are hiding behid at the top of the photo. In the next couple of tuns they would pin and then kill the SF MG42 team as well.
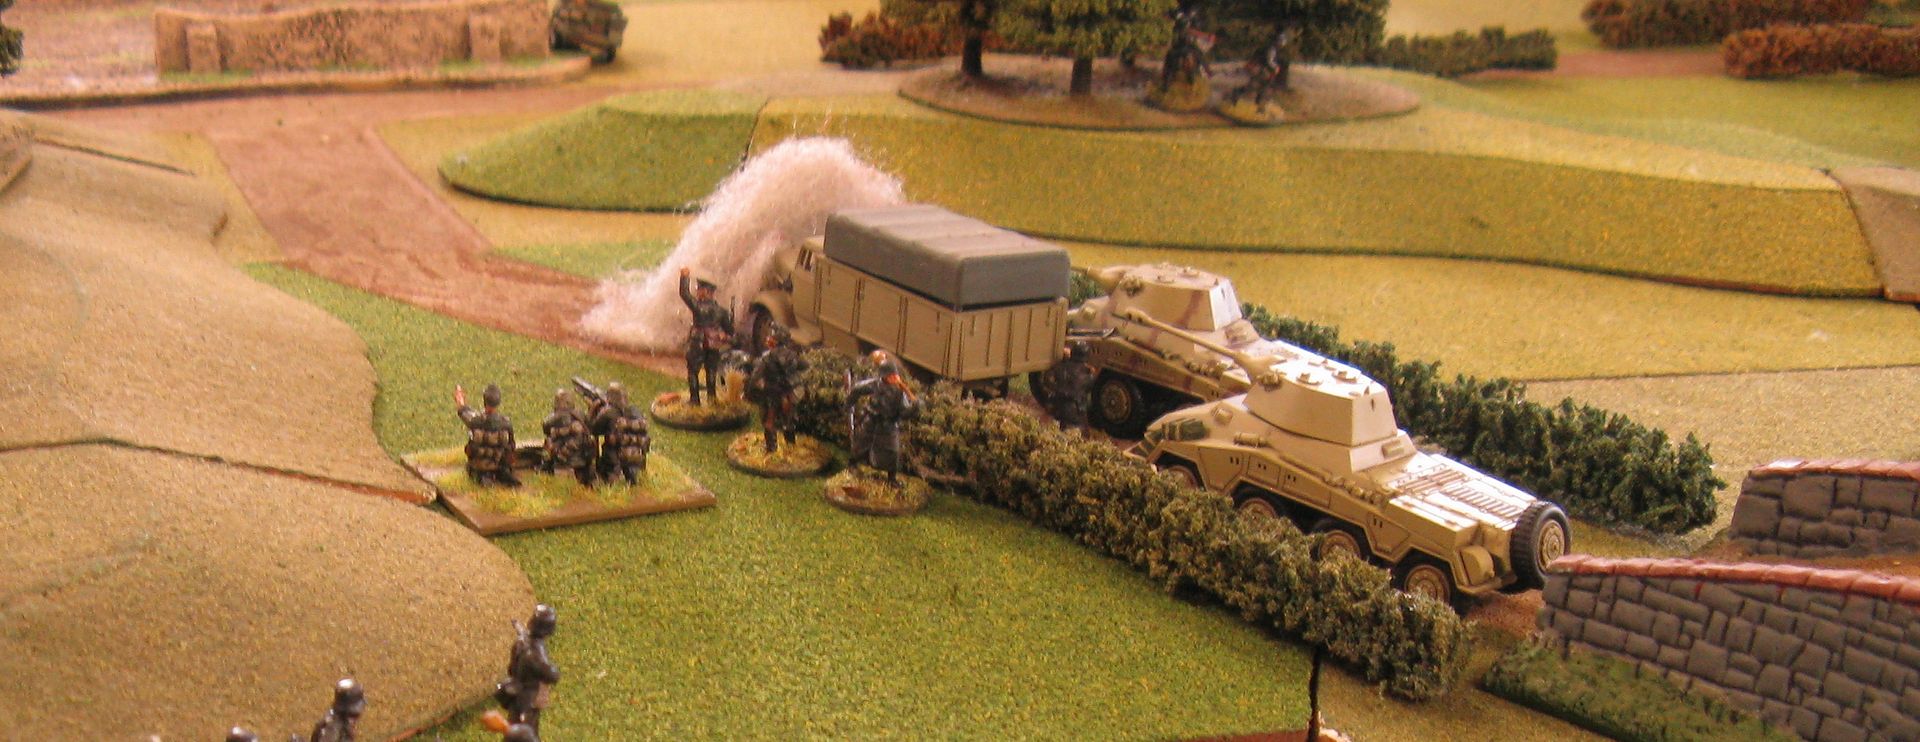
Here we are getting the remaining trucks the hell out of there!
The German reinforcements start to arrive
Our secret weapon... which actually performed pretty poorly compared to the Brits 2 batteries of 25 pdrs. I going to have to rethink that whole Hummel thing...
Here you can see the little buggers that ruined our day. They survived numerous attempts to brass up, direct fire HE. Artillery stonks etc - with a ridiculous amount of successful hard cover saves. Just to put salt on our wounds, they're also sitting on top of one of our objectives. Gott in Himmel!! Those Englanders fight like madmen!!!
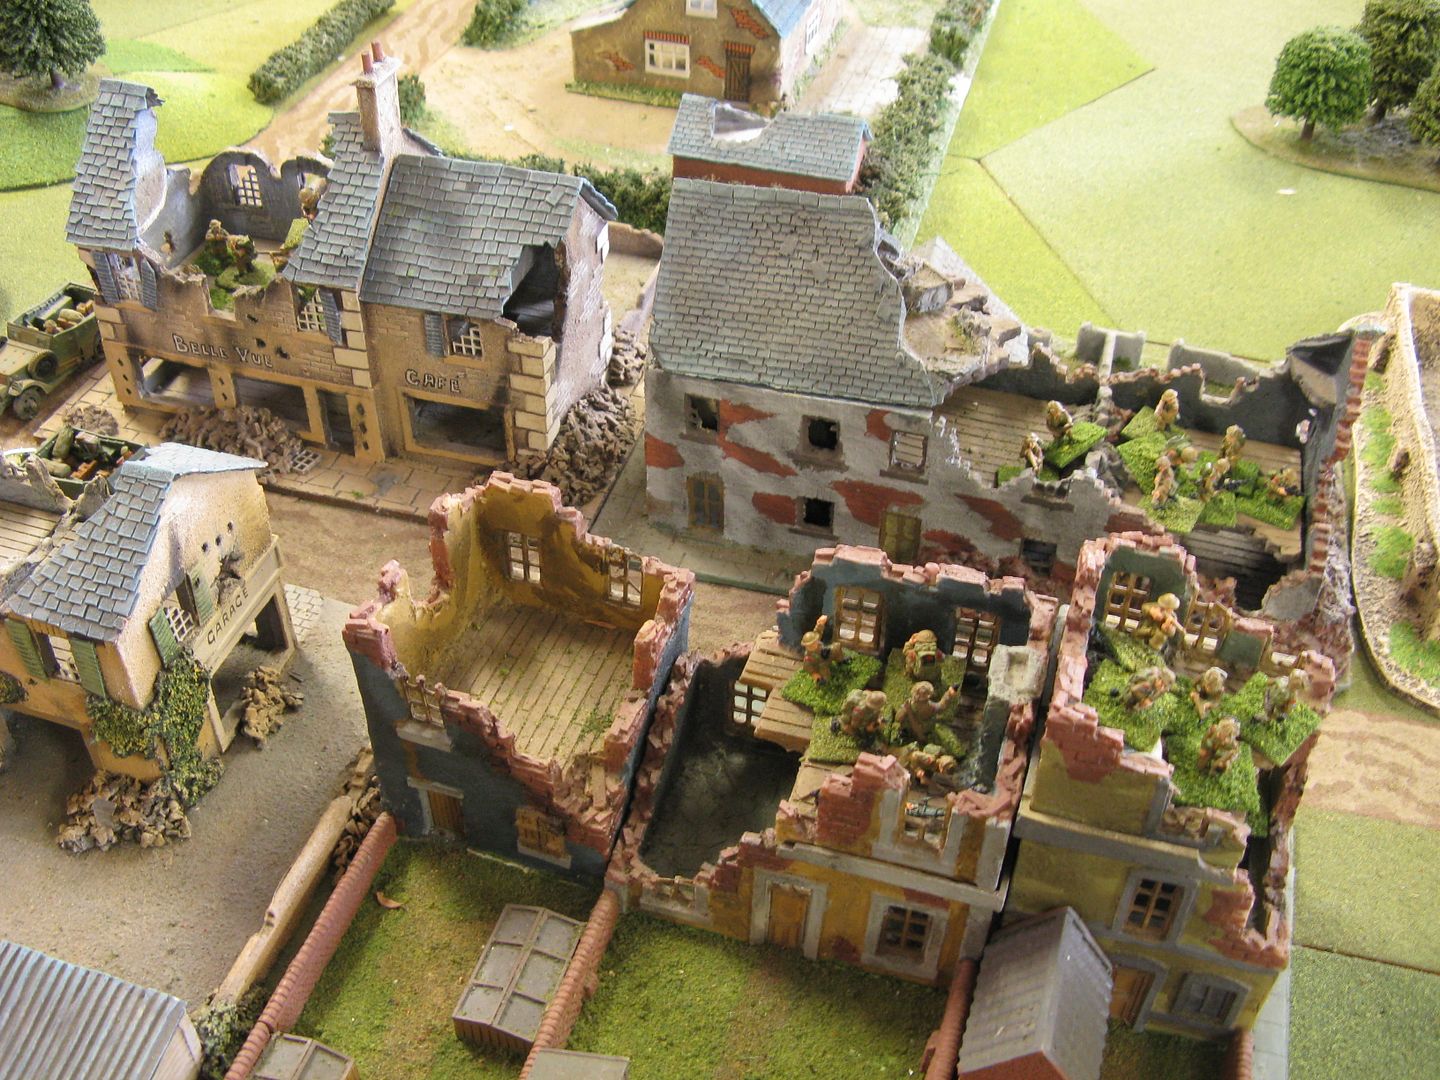
British infantry moving through the houses. They appeared pretty harmless to me - with the road intersection being well outside 10" PIAT range. Slight humiliation for me will happen shortly...
British armour heading to the sound of gunfire
But wait... there's more...
Take that! A Puma nails the carrier... finally. Now just those 3 damn fella's to kill.
Amazing, on a 27 foot long table, when the Brits timed airstike arrives, it has a target to drop on. Fortunately for us, our Wirbelwind, which had been waiting 3 turns for this opportunity, hit and pinned him, driving off the strike.
A lone Pzr IVH attempts to head off the LRC. We generously said we'd take 2 chits if they could drive it off our end of the board...
Close up
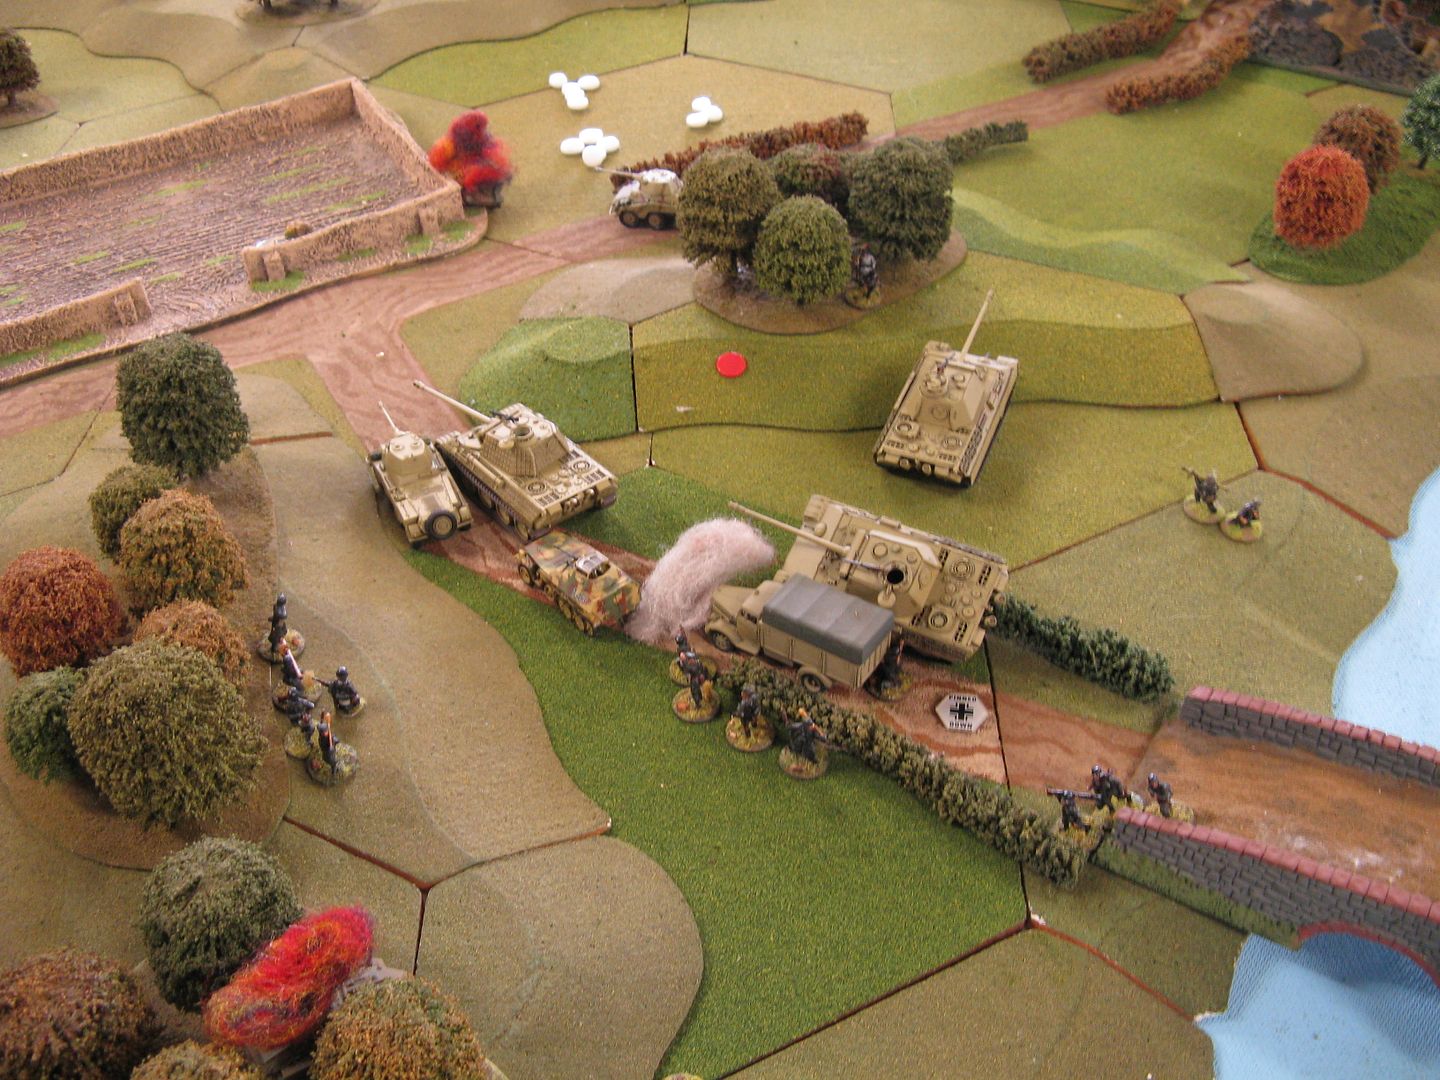
Biffo at the bridge. We were now in a pretty pickle. The bridgehead was easy pickings for the Brit FO teams, and that bloody little fell with a bren gun was still sitting on our objective. The red marker was the Brits favourite aiming point for spotter rounds.
More armour cometh... You can see the Brit FO in a trench near the house, while the Fwd HQ, is in the house. We managed to pin that unit and kill one chap, but it was not enough.
See! He's still there!!! Causing all sorts of havoc. Well not really, but I guess we had a touch of too much target focus there. can't think of the right phrase - but the one where the pilot is so intent on gunning down the plane he is chasing, he forgets the rest of the battle and is shot down by the bloke who siddles in behind him. See that one of our Puma's has now been knocked out - direct hit from a 25 pdr bombardment.
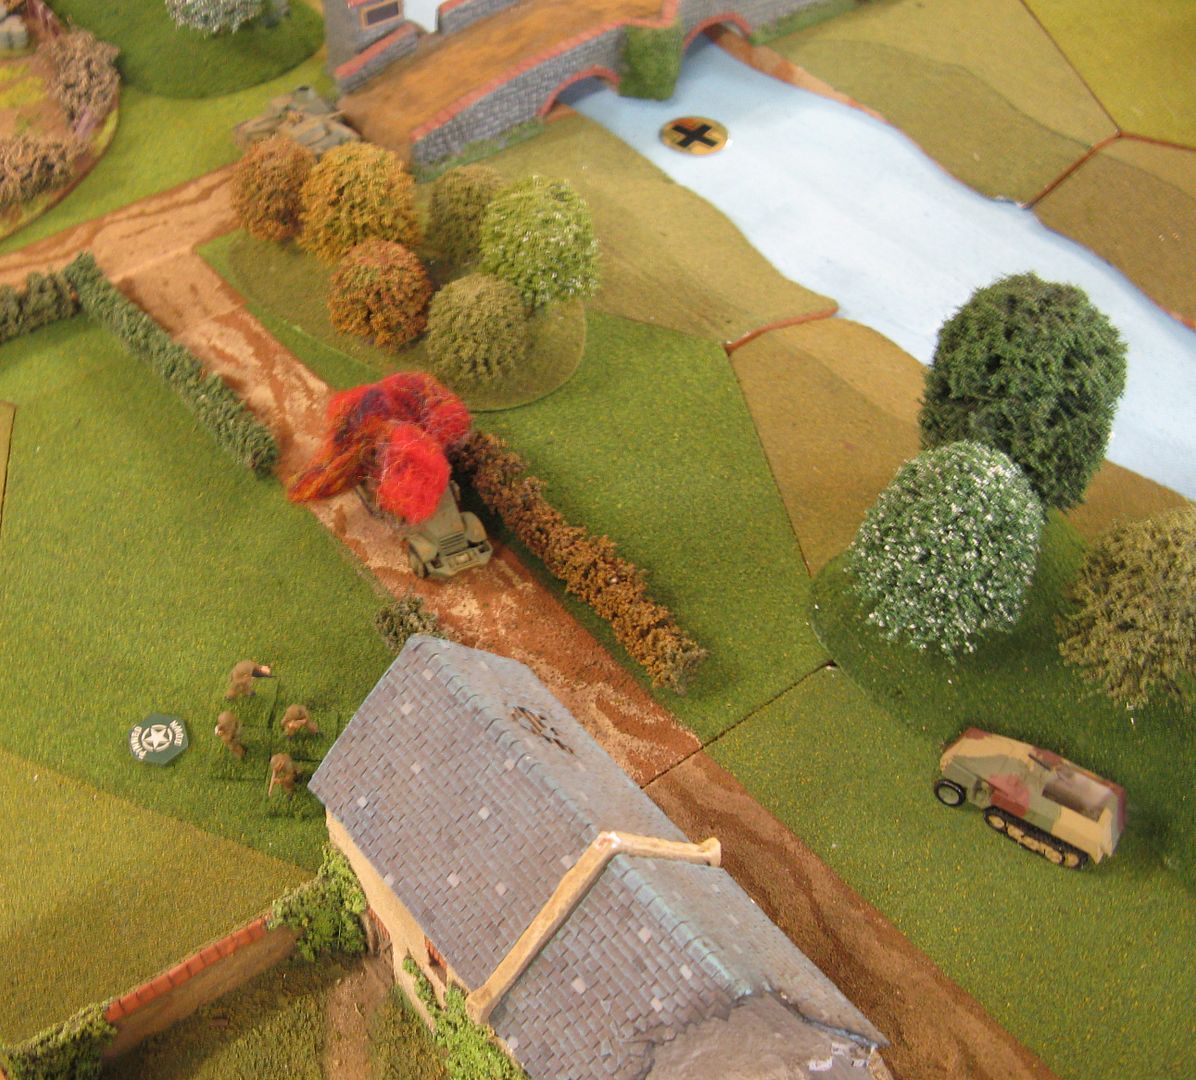
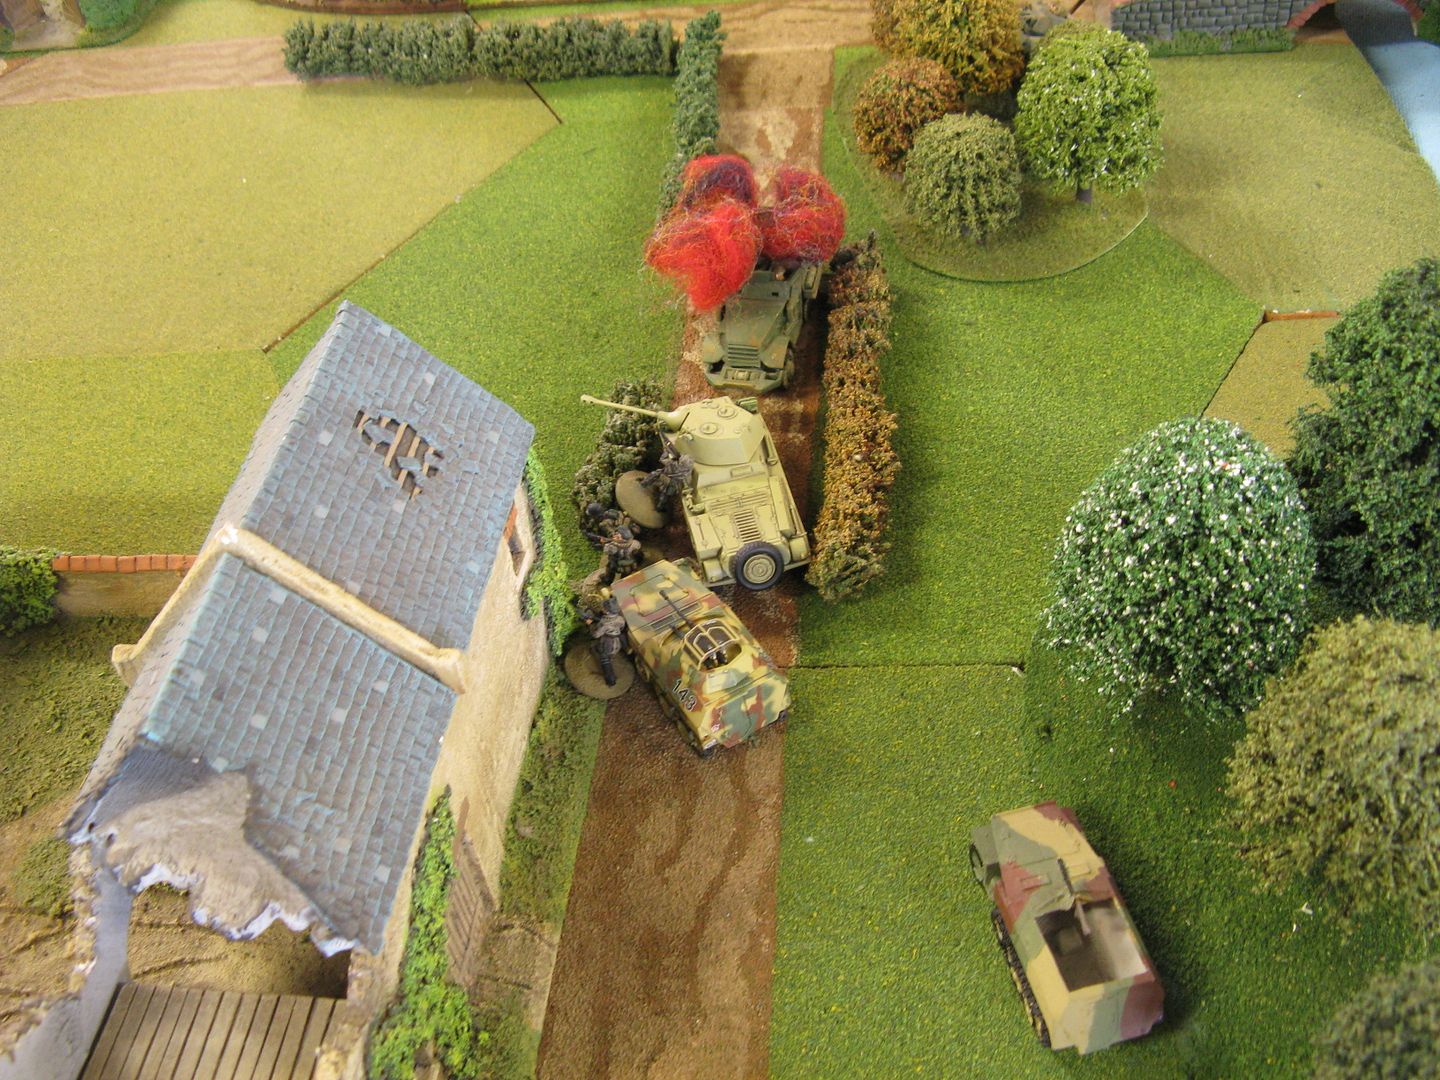
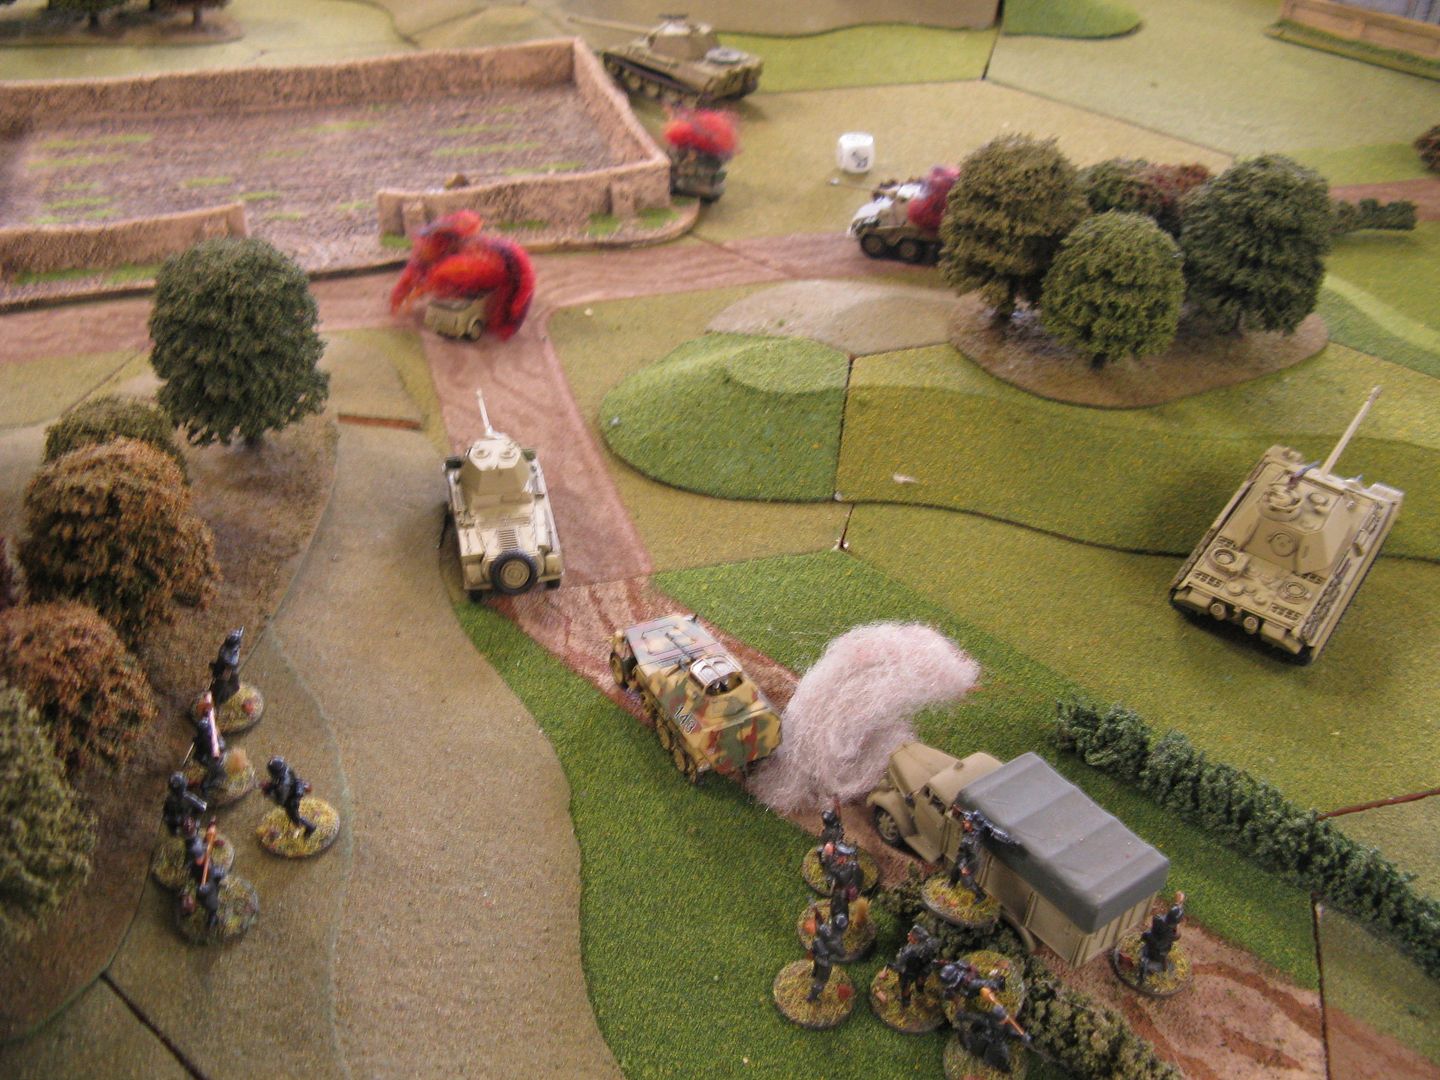
Playing on a 27 foot long table, you get attached to racing 48" down roads (which again is relative on such a big table). So I was a little to keen to get my FO into a decent spot right near the centre of the table and so drove it right through the intersection, with the idea of hiding it behing the knocked out Puma. Unfortunately I completely forgot about the British infantry in the houses on overwatch. Note to self - kubelwagens are not tanks...(or even armoured cars...)
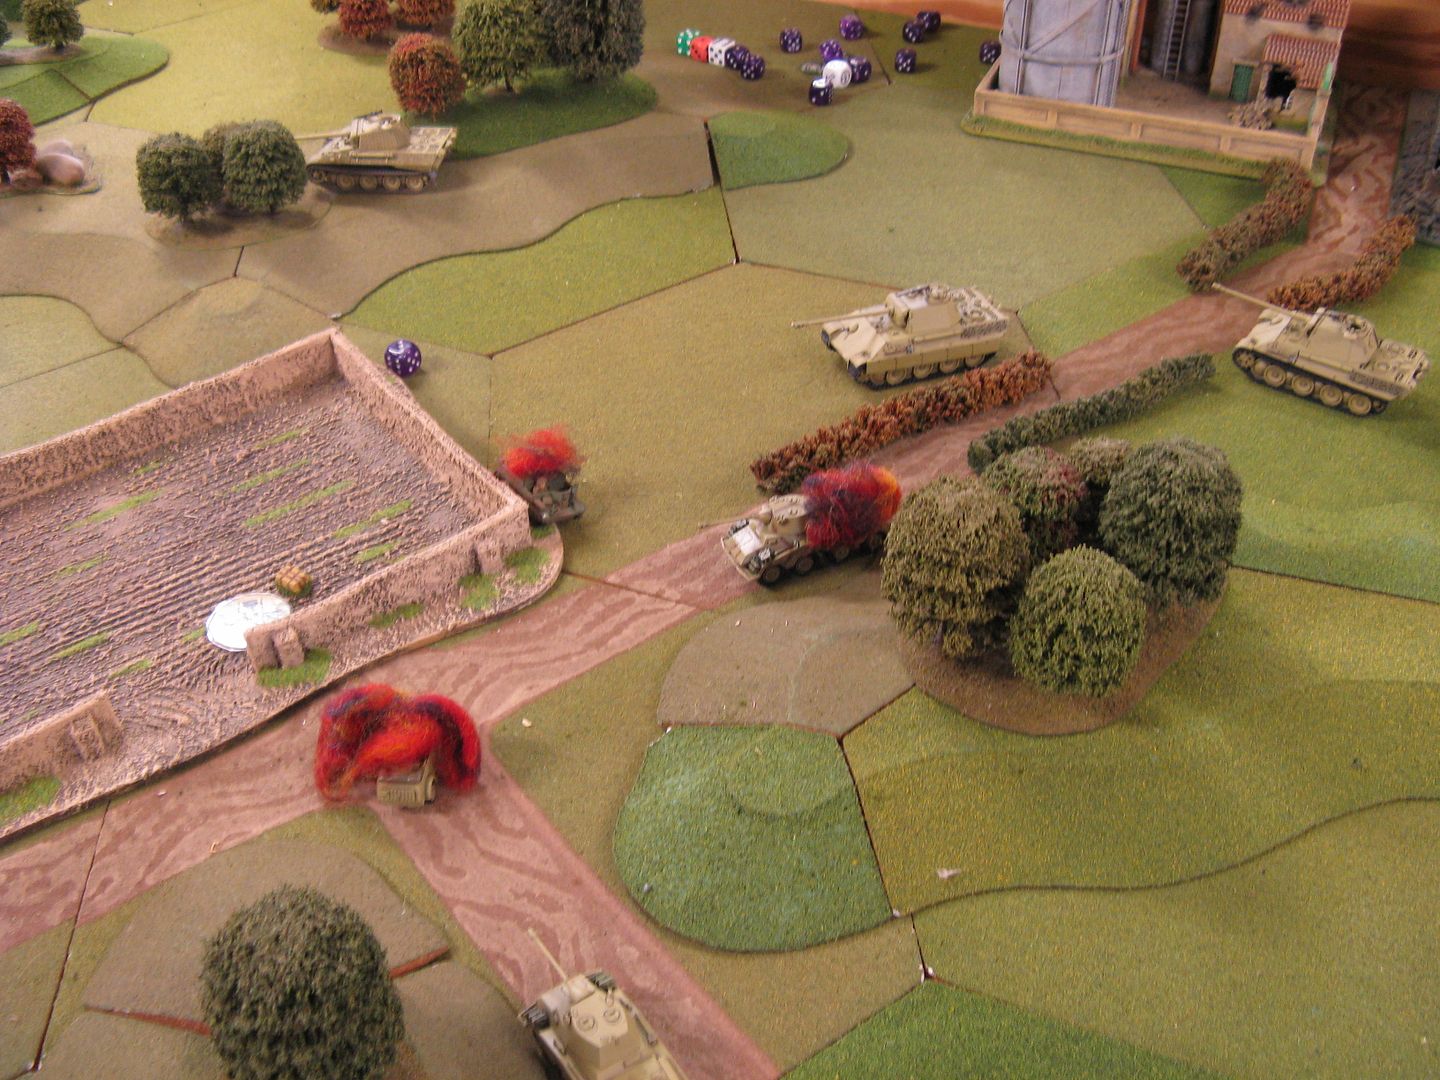
Panther slowly moving up, around the burning FO team and their ride. By now we had reduced the recce bren team to just one man. All we needed to do was pin him and he'd run away...
British tanks turn off the road and start taking shots at Panthers. Fortunately for both sides, none of us could roll a 6 to save our lives!
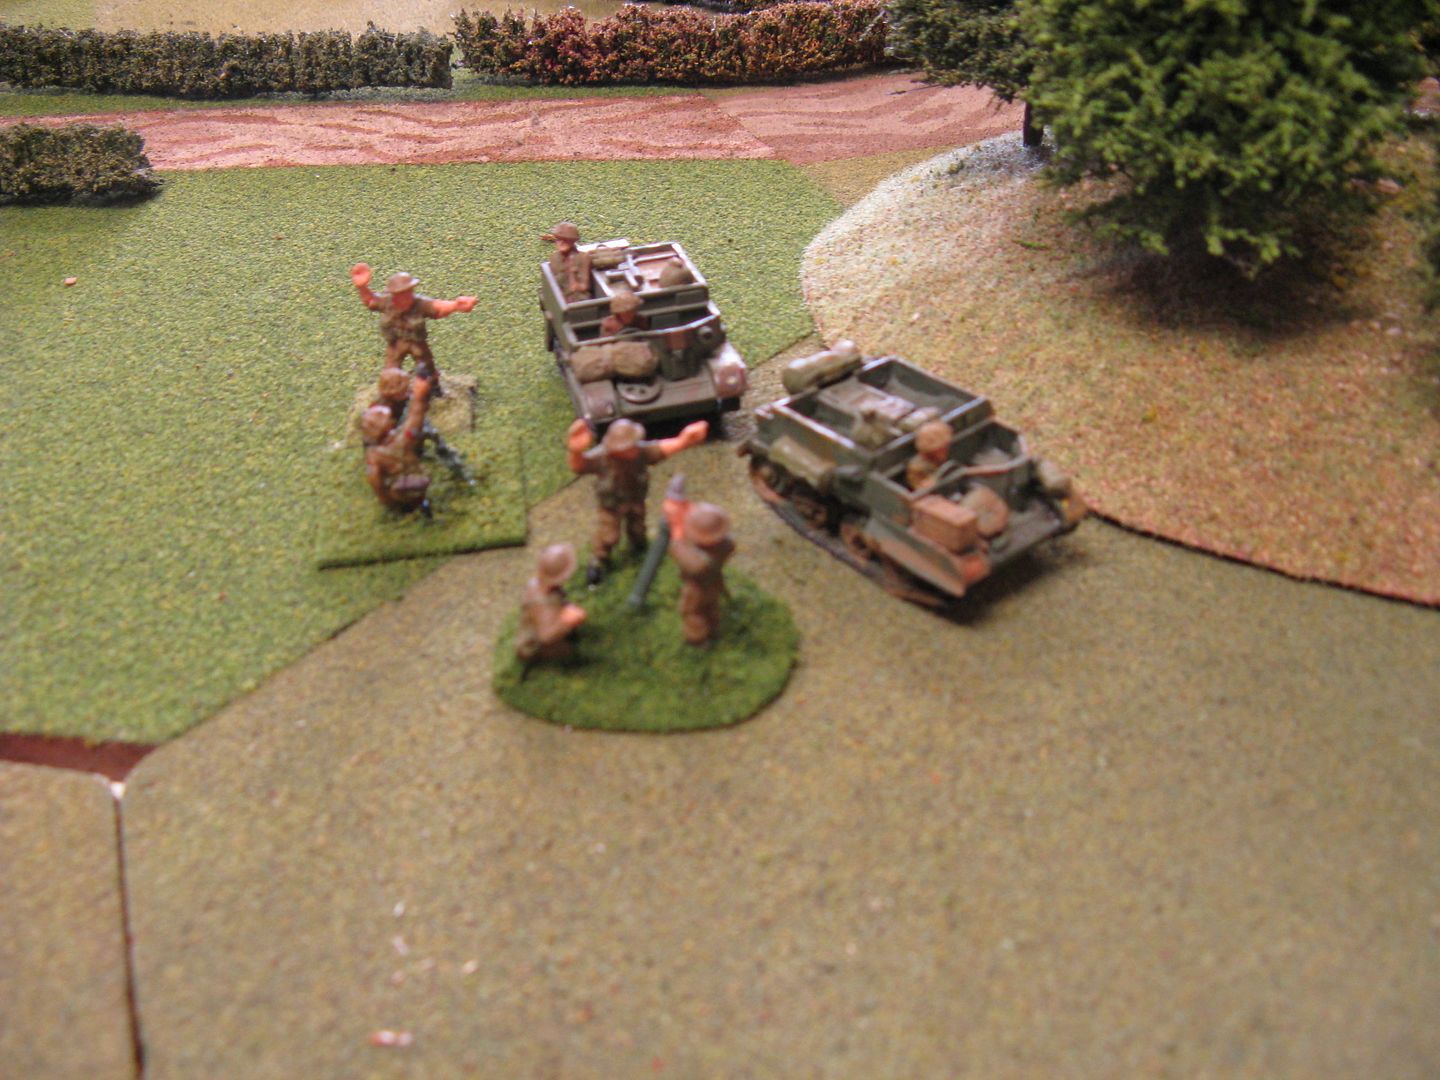
Brit 3" mortars getting into action
Panthers continue to advance
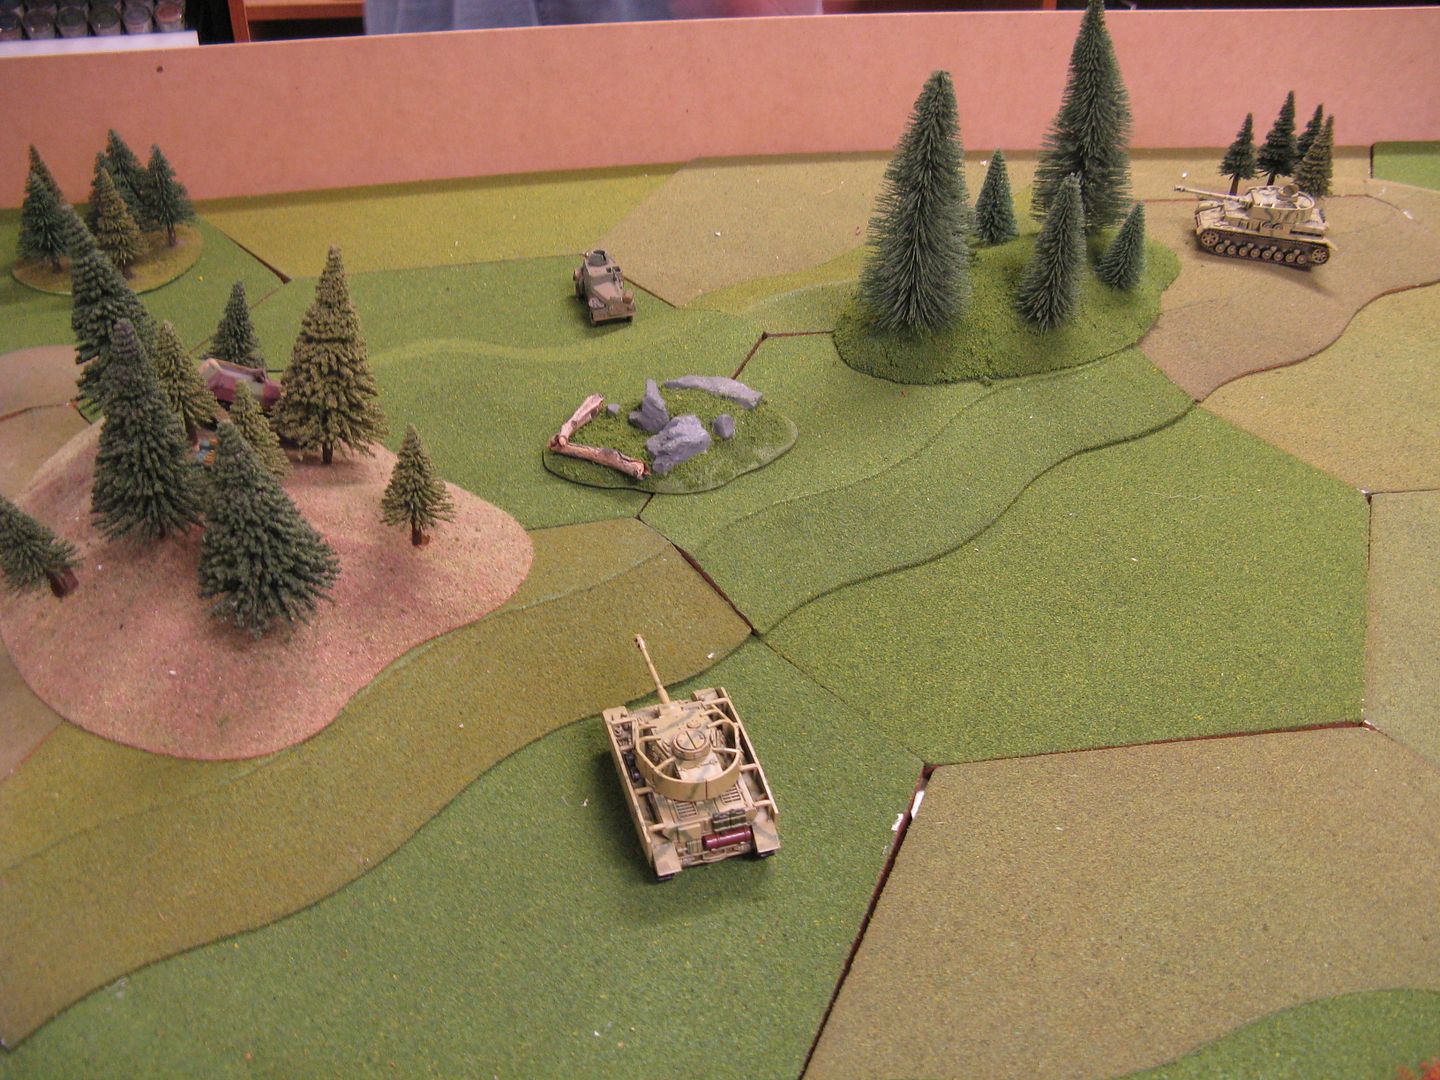
As the game ends, 2 Pzr IVH's close in on the LRC
So the British started off with 98 BR and ended the game with 55. We had 90 BR and ended with 54 - so I guess we classify that as a British win, even though we held the bridge and all our Panthers ready to put some pain there way in the next couple of turns.
But regardless - a great game was had by everyone and the whole 27 foot long table thing worked quite well.
Richard
As I forgot to take photos before the game I'll have to describe the set up - First there was a river with a bridge in the centre of the table held by a small British recce force.
The Germans also had a recce force that would enter from 1 of 3 roads near the centre of the table. 1 road was on the German side of the bridge - the 2 other roads were on the British side, The road was determined randomly once the British recce force had set up and it turned out (a 2 in 6 chance) that the German recce unit was on the German side of the river.
Each force had a vanguard of 1 infantry platoon, 1 tank platoon and their Forward HQ that start on a road on the table. The rest of the forces came in as reserves on turn 3.
Finally each side had one objective on either side of the river, and the bridge counted as an objective worth 2 chits. If you captured an enemy objective it also forced 2 chits, whereas catching one of your own only forced 1 chit. We did that as both sides have 90+ Battle Rating (BR).
This is the German vanguard driving as fast as it could up the table towards the bridge - which is so far away that you can't even see it.
The Panther platoon
Fwd HQ Command Track
The PG platoon. We certainly pushed our luck with these guys - paid off to begin with, but we pushed that luck too far.
Meanwhile at the bridge, the Puma's take out an unsuspecting M5 halftrack. You can see the bridge at the back of the photo
The troops spill out and are pinned
British reinforcements waiting to come on - my German force beauty shot did not come out...
This damn little Humber LRC survived the whole game, unlike the rest of the British recce force - here the sneaky devil is rudely capturing one of our objectives.
The Puma missed a difficult shot at the LRC, while SdKfz250/9 re-pinned the British infantry and the German Mounted recce patrol assaulted and wiped out the remaing British dismounts
Opel Blitz's leading the vanguard of the German force - and it's all about to go pear-shaped. One of the trucks and just dismounted it's 3 units, including the Shreck team, which has taken out the Humber IV in the woods.
British reinforcements begin to arrive at a small village near the bridge
More reinforcemetns
Our luck ran out, as a plucky Carrier recce team lit up the first Opel Blitz. In the ensuring rolling for casualties, they managed to kill a complete 80mm mortar team, an MG Team and a couple of guys from the rifle team. Ouch - 3 chits for a truck! You can just see the wall they are hiding behid at the top of the photo. In the next couple of tuns they would pin and then kill the SF MG42 team as well.
Here we are getting the remaining trucks the hell out of there!
The German reinforcements start to arrive
Our secret weapon... which actually performed pretty poorly compared to the Brits 2 batteries of 25 pdrs. I going to have to rethink that whole Hummel thing...
Here you can see the little buggers that ruined our day. They survived numerous attempts to brass up, direct fire HE. Artillery stonks etc - with a ridiculous amount of successful hard cover saves. Just to put salt on our wounds, they're also sitting on top of one of our objectives. Gott in Himmel!! Those Englanders fight like madmen!!!
British infantry moving through the houses. They appeared pretty harmless to me - with the road intersection being well outside 10" PIAT range. Slight humiliation for me will happen shortly...
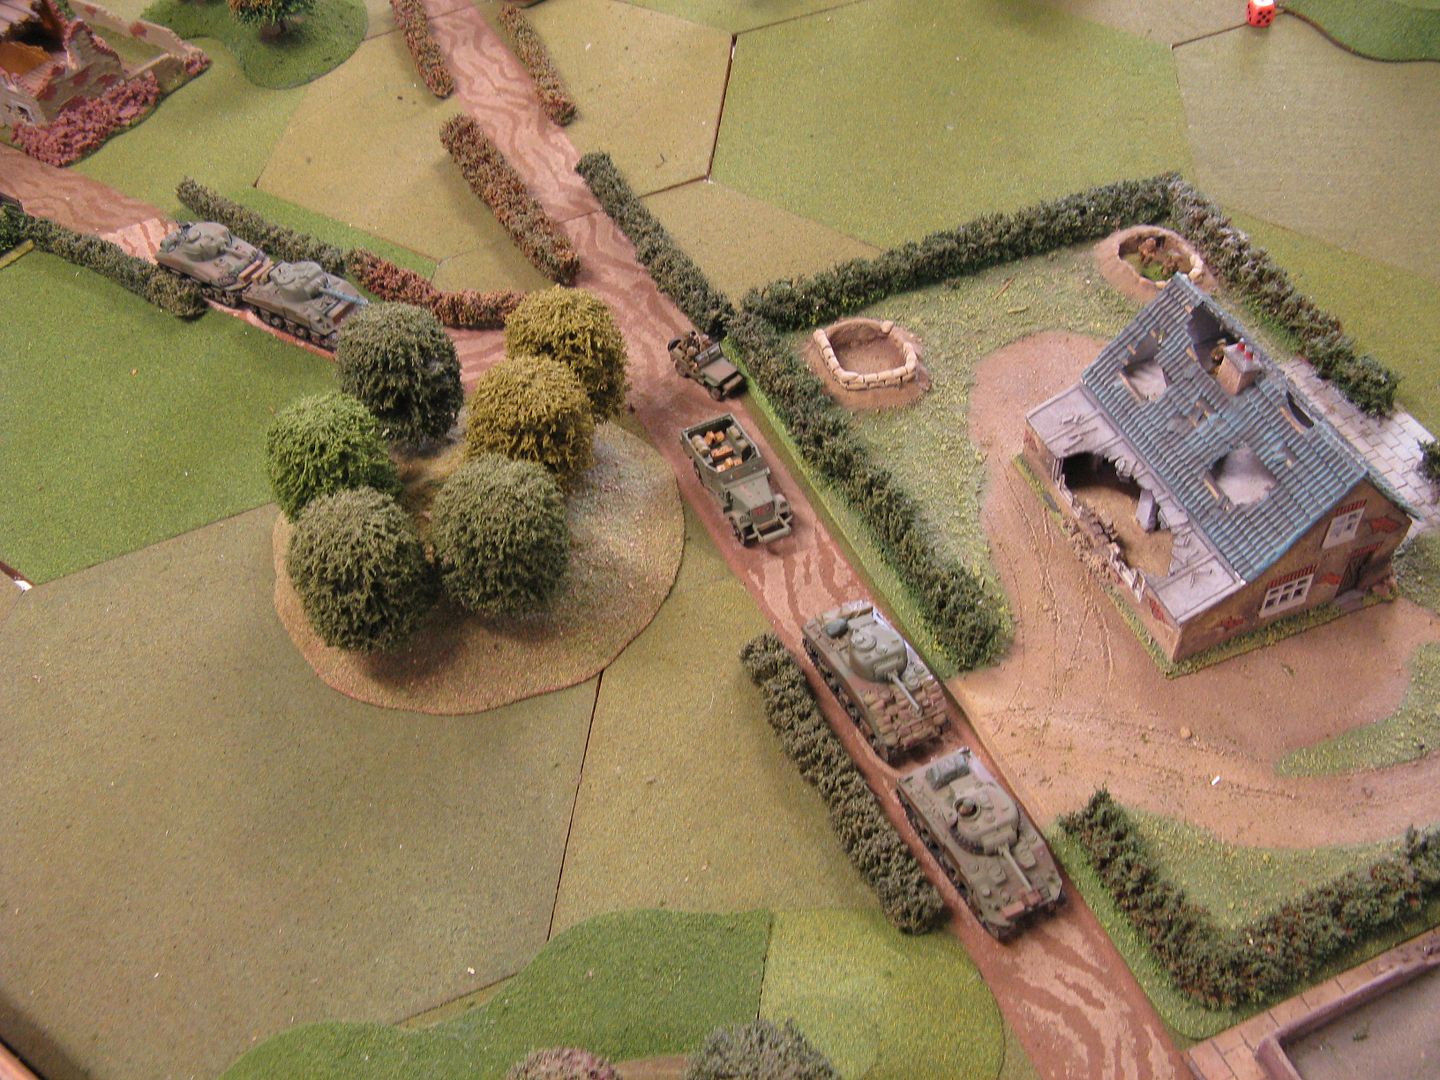
British armour heading to the sound of gunfire
But wait... there's more...
Take that! A Puma nails the carrier... finally. Now just those 3 damn fella's to kill.
Amazing, on a 27 foot long table, when the Brits timed airstike arrives, it has a target to drop on. Fortunately for us, our Wirbelwind, which had been waiting 3 turns for this opportunity, hit and pinned him, driving off the strike.
A lone Pzr IVH attempts to head off the LRC. We generously said we'd take 2 chits if they could drive it off our end of the board...
Close up
Biffo at the bridge. We were now in a pretty pickle. The bridgehead was easy pickings for the Brit FO teams, and that bloody little fell with a bren gun was still sitting on our objective. The red marker was the Brits favourite aiming point for spotter rounds.
More armour cometh... You can see the Brit FO in a trench near the house, while the Fwd HQ, is in the house. We managed to pin that unit and kill one chap, but it was not enough.
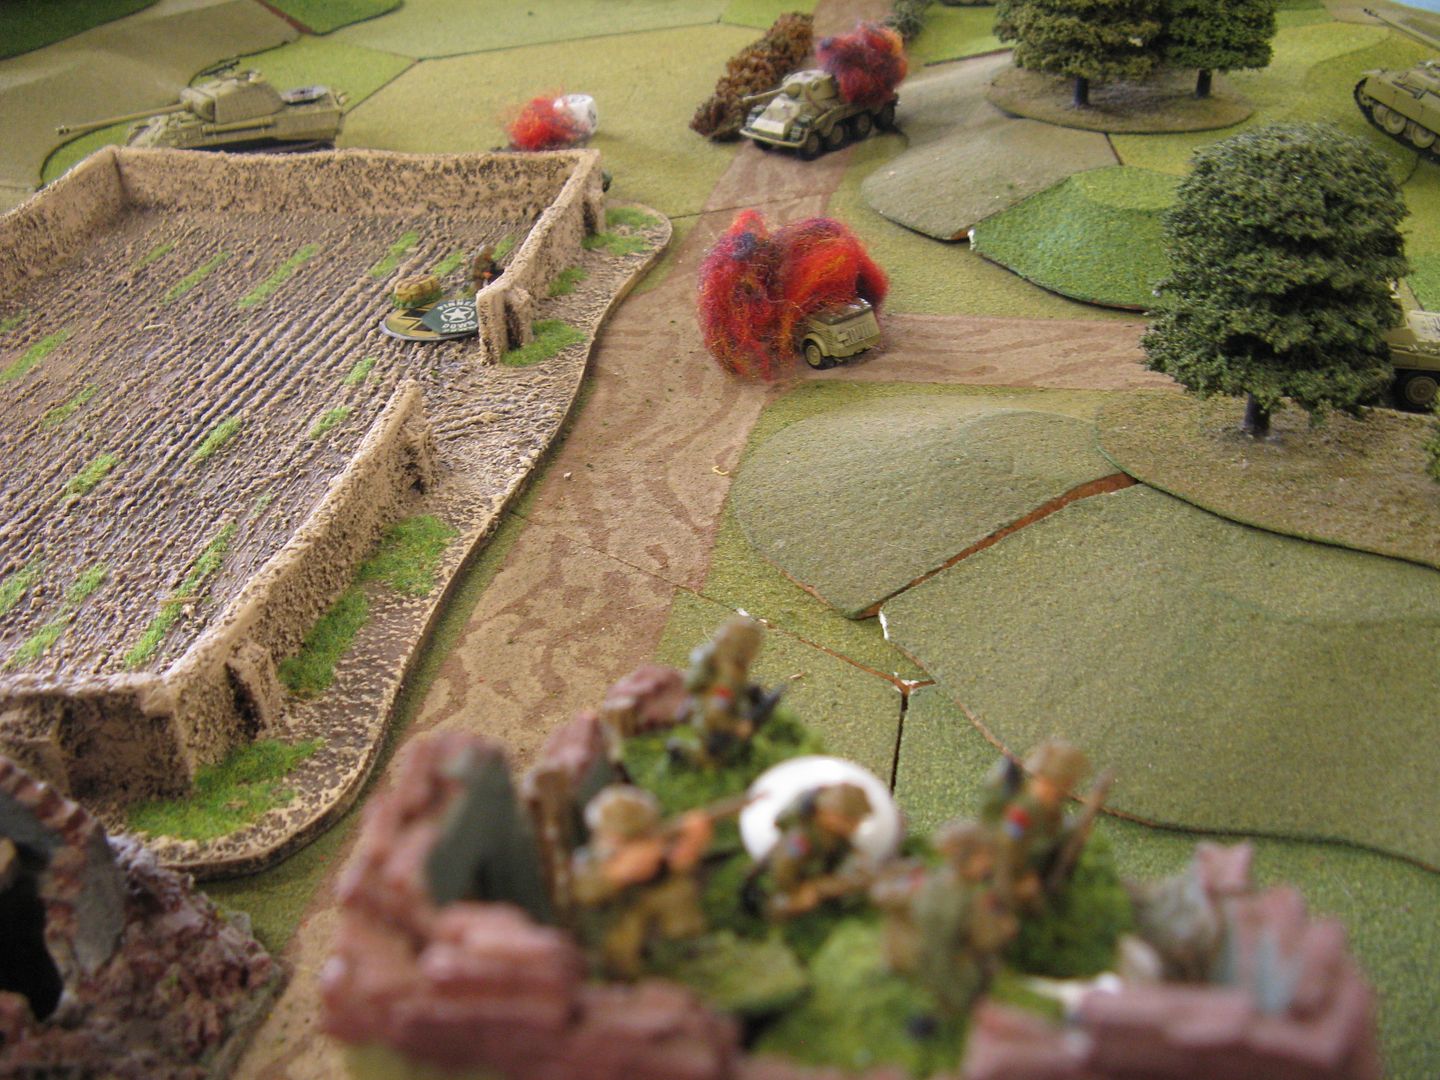
See! He's still there!!! Causing all sorts of havoc. Well not really, but I guess we had a touch of too much target focus there. can't think of the right phrase - but the one where the pilot is so intent on gunning down the plane he is chasing, he forgets the rest of the battle and is shot down by the bloke who siddles in behind him. See that one of our Puma's has now been knocked out - direct hit from a 25 pdr bombardment.
Playing on a 27 foot long table, you get attached to racing 48" down roads (which again is relative on such a big table). So I was a little to keen to get my FO into a decent spot right near the centre of the table and so drove it right through the intersection, with the idea of hiding it behing the knocked out Puma. Unfortunately I completely forgot about the British infantry in the houses on overwatch. Note to self - kubelwagens are not tanks...(or even armoured cars...)
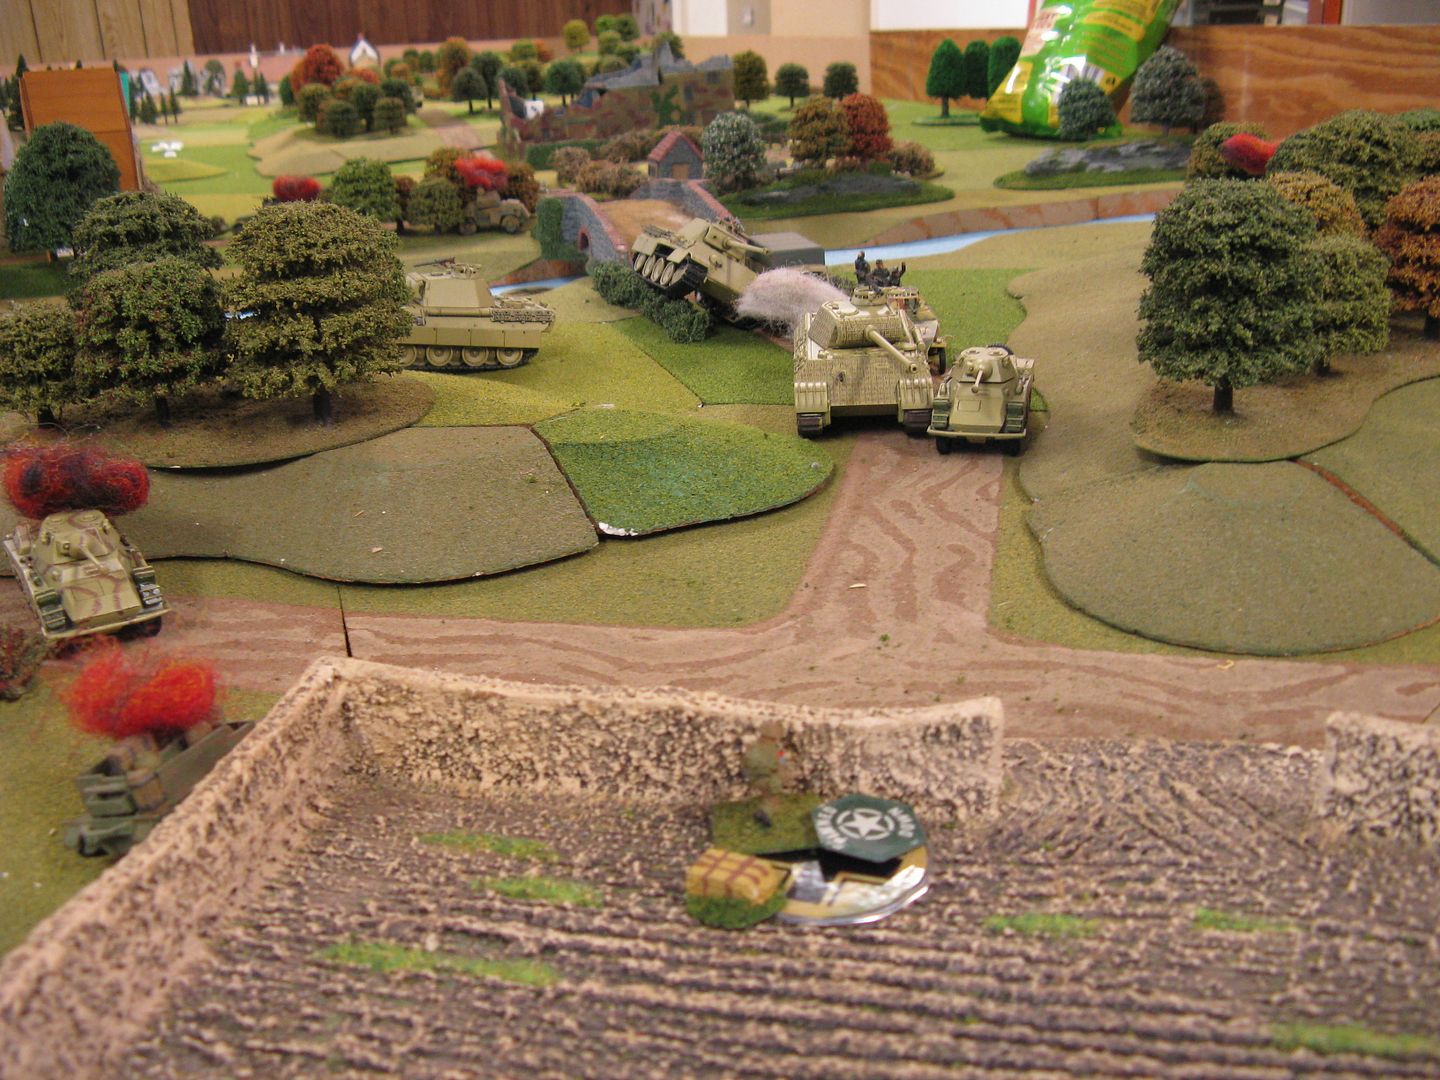
Panther slowly moving up, around the burning FO team and their ride. By now we had reduced the recce bren team to just one man. All we needed to do was pin him and he'd run away...
British tanks turn off the road and start taking shots at Panthers. Fortunately for both sides, none of us could roll a 6 to save our lives!
Brit 3" mortars getting into action
Panthers continue to advance
As the game ends, 2 Pzr IVH's close in on the LRC
So the British started off with 98 BR and ended the game with 55. We had 90 BR and ended with 54 - so I guess we classify that as a British win, even though we held the bridge and all our Panthers ready to put some pain there way in the next couple of turns.
But regardless - a great game was had by everyone and the whole 27 foot long table thing worked quite well.
Richard
Subscribe to:
Posts (Atom)